Have you ever had a simple, 5-minute project that just – for one reason or another – never seemed to happen?
Do you want a kitchen sneak peak?
If the answer to either of those questions is, “yes,” then this post is for you.
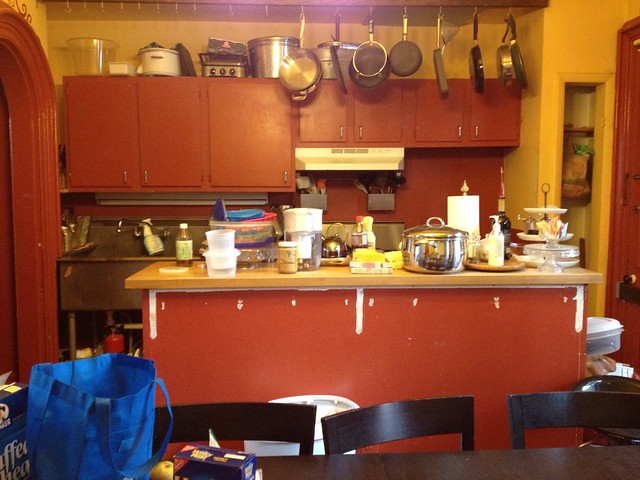
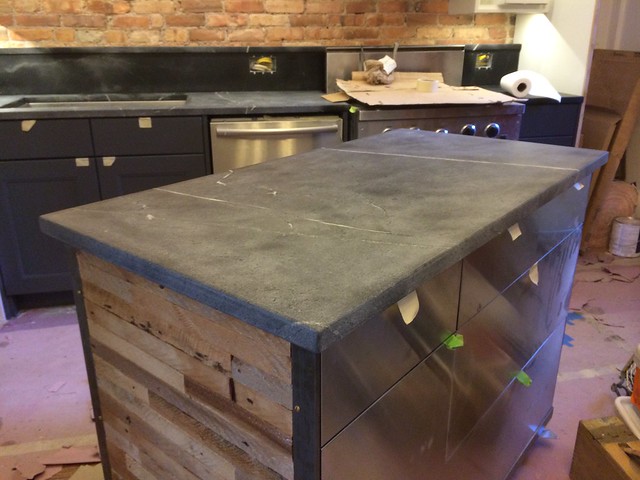
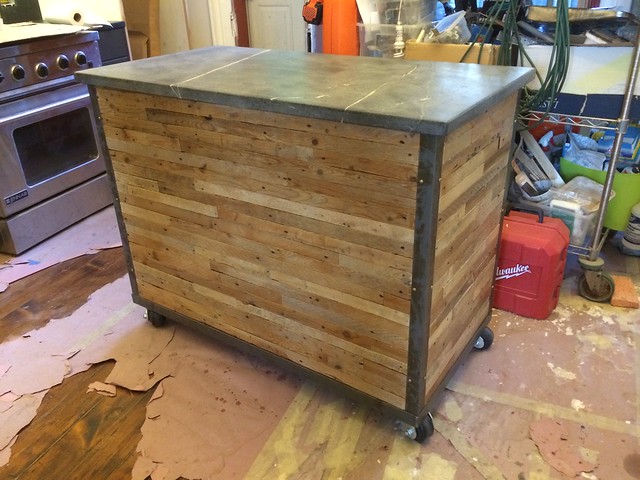
The kitchen is, for all intents and purposes, is {mostly} done. There are dishes in the cabinets and food in the pantry. We cook meals and host holidays. It is glorious and functional and beautiful.
But the sink cabinet needs touch-up paint. The back and pantry doors need hardware. A couple small section of trim need repair. The paint on the heating pipes discolored for some reason I have yet to figure out. One of the sockets in my DIY chandelier has a loose wire and needs to be fixed. The faucet leaks. We desperately need child locks.
It’s done*.
*sort of
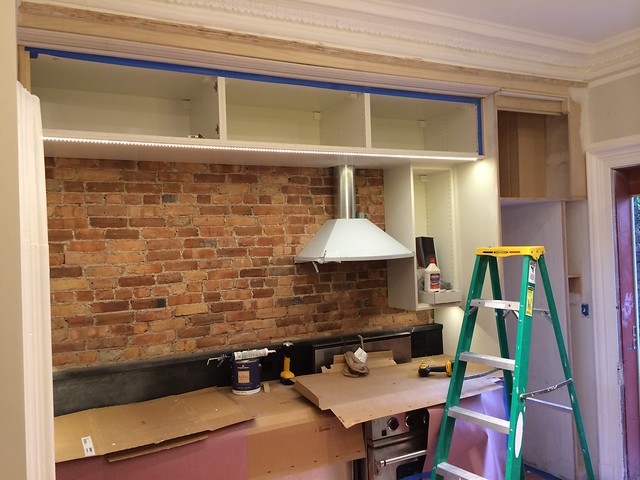
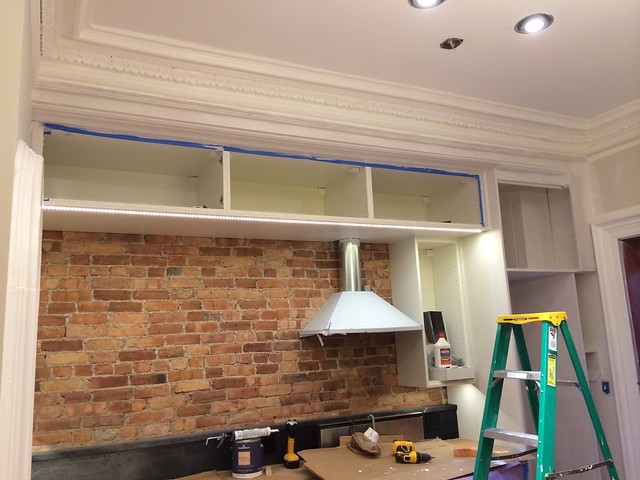
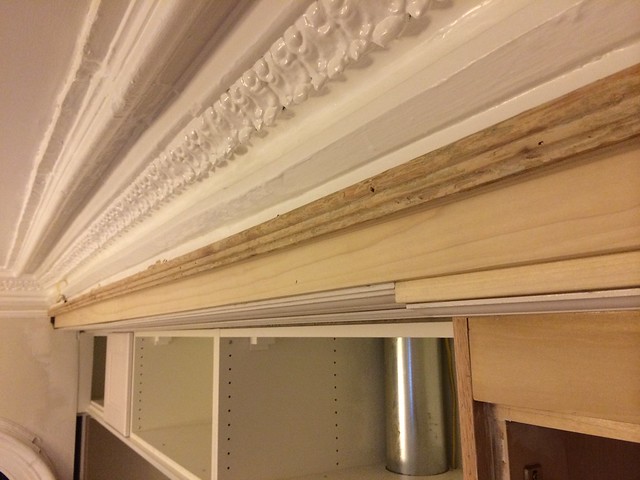
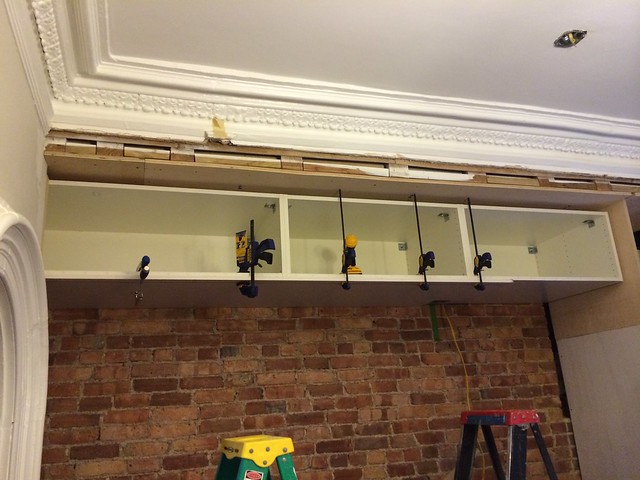
For the past 9 months(ish) (without a blog you loose track – maybe longer? maybe not?), the main section of under cabinet lighting was out.
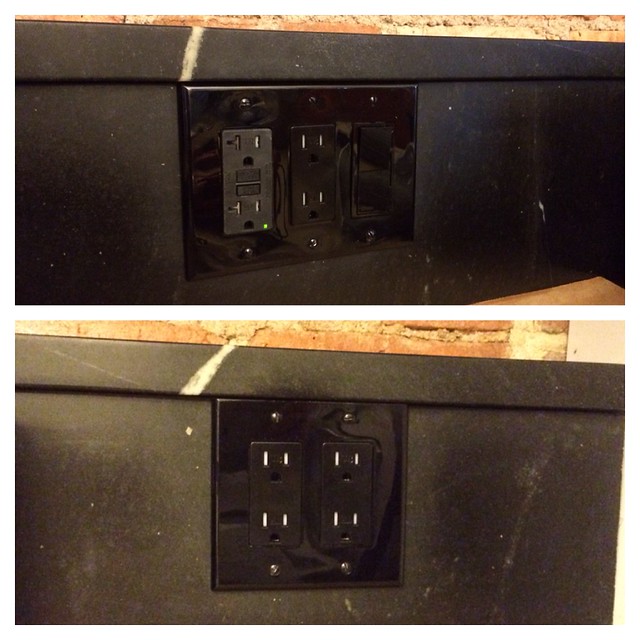
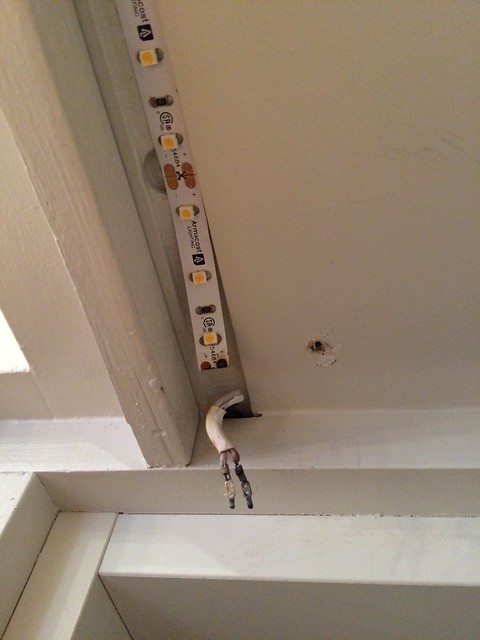
Due mostly to gravity and connectors that didn’t fully lock in place, the connection from one end of the LED light strip was faulty.
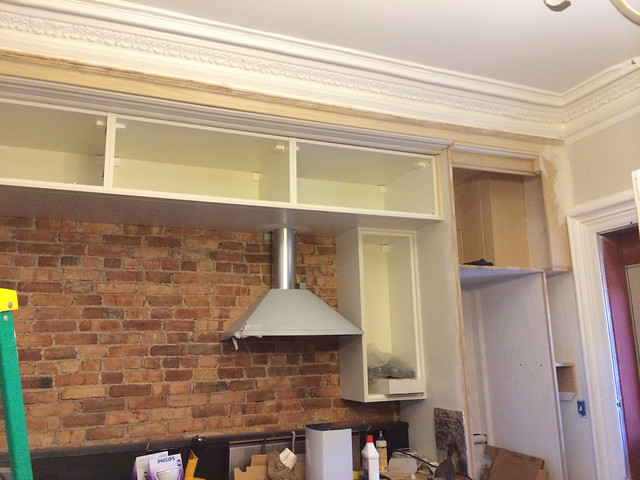
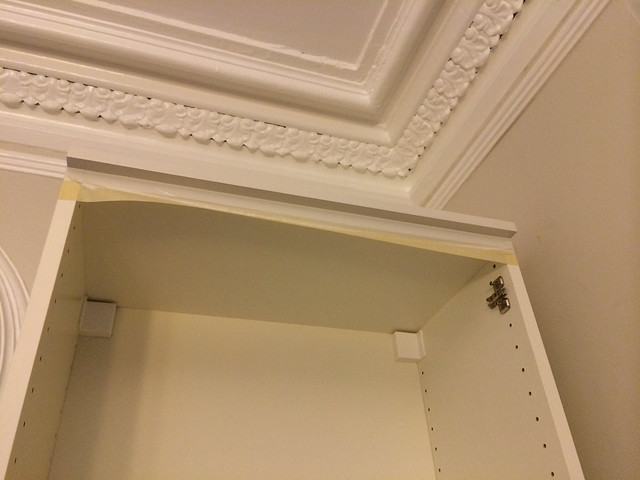
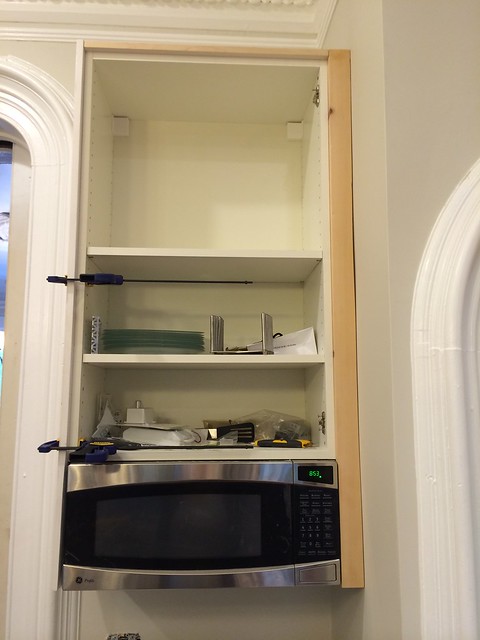
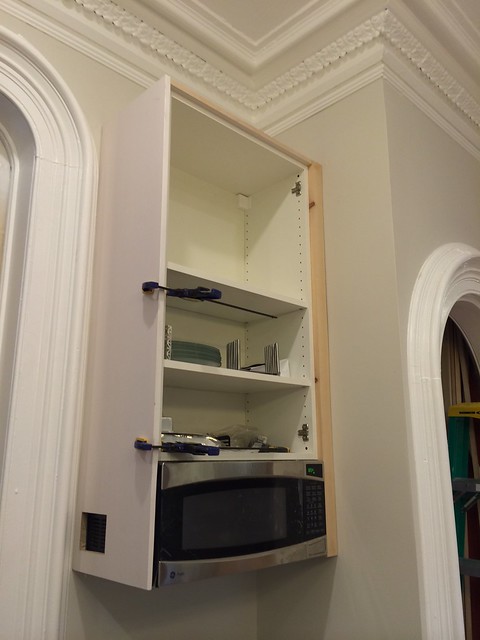
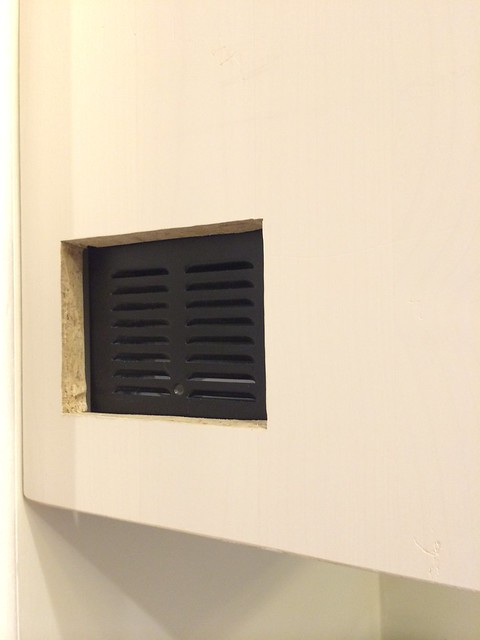
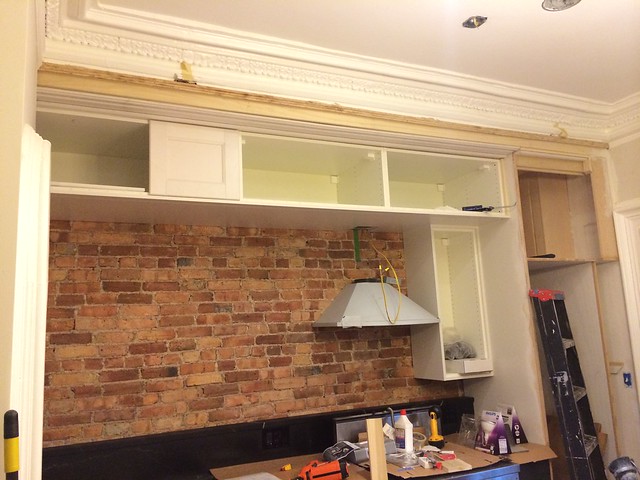
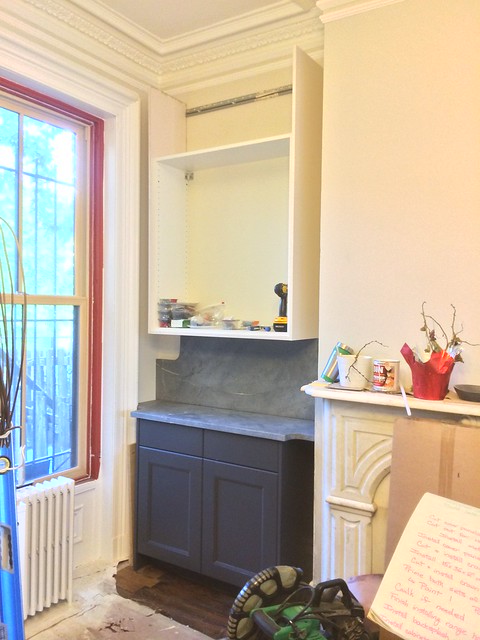
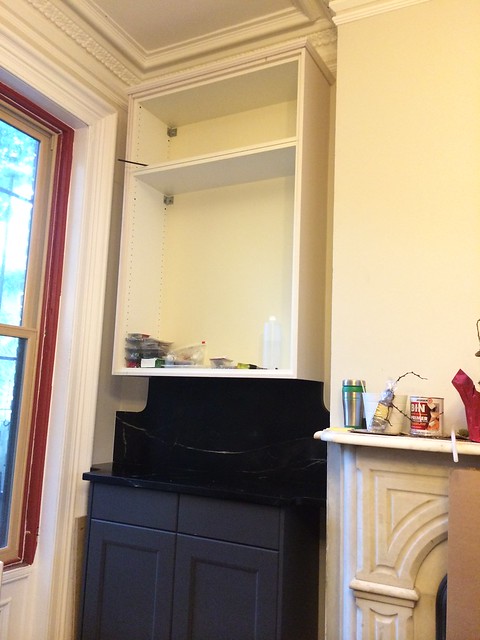
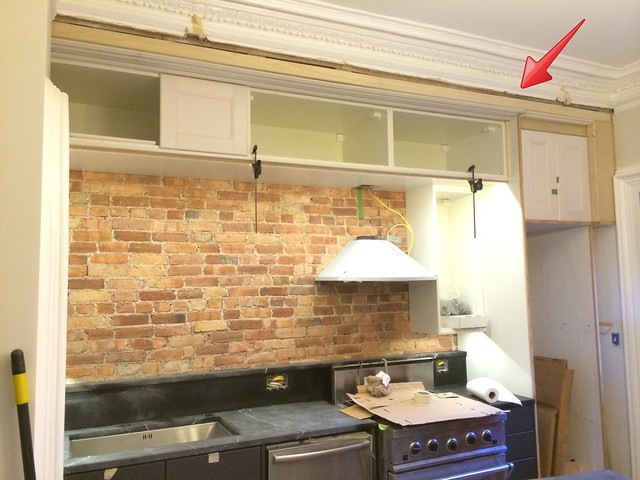
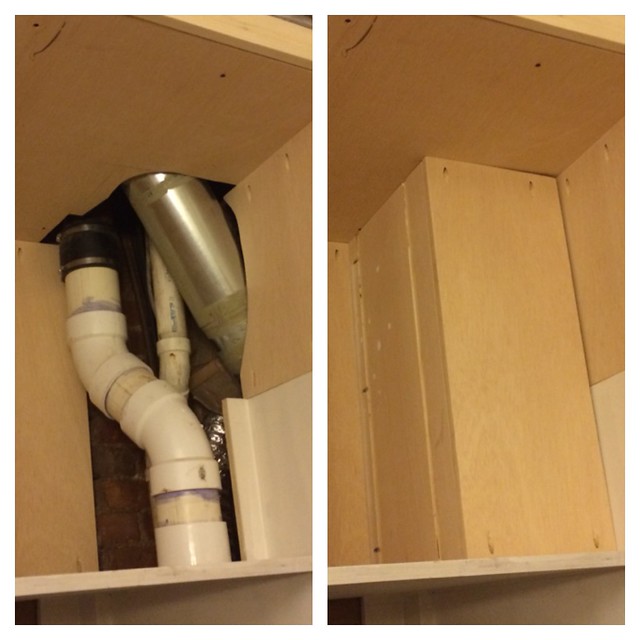
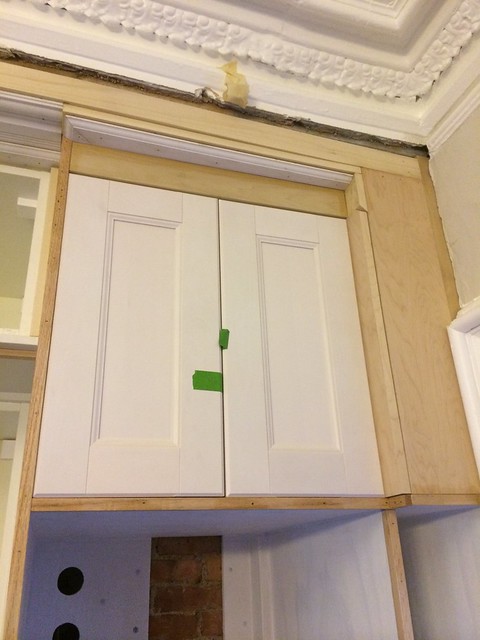
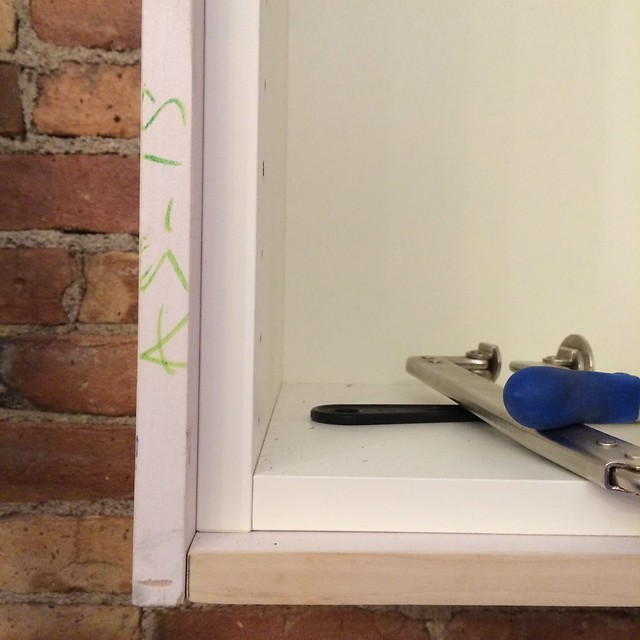
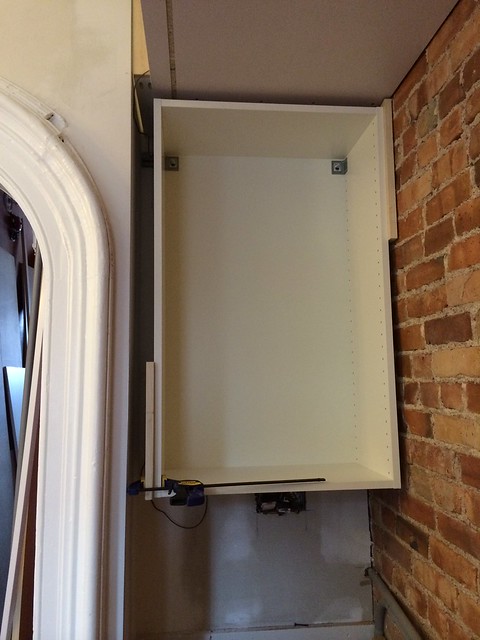
See, with the under cabinet lights, power comes in from the left and travels right – from the recessed nook, across the main wall of kitchen, and under the little 15″ cabinet by the fridge.
At first, it was just a flicker.
Then it turned into a flash.
Then it would stay lit if you pushed the connector back into place.
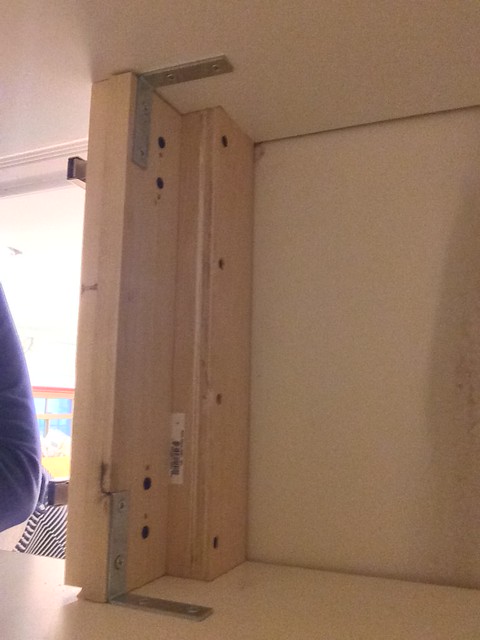
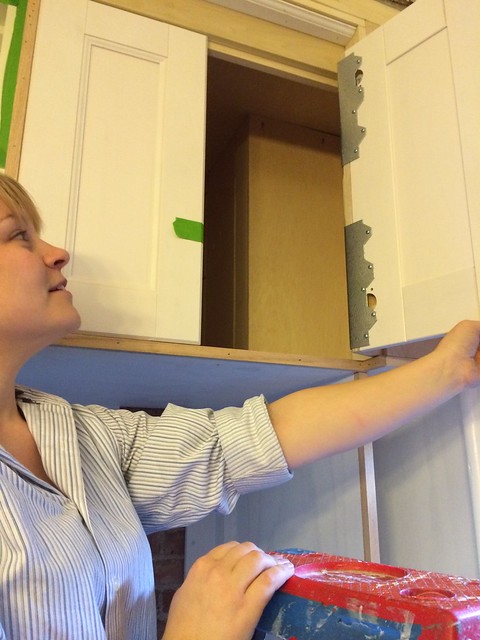
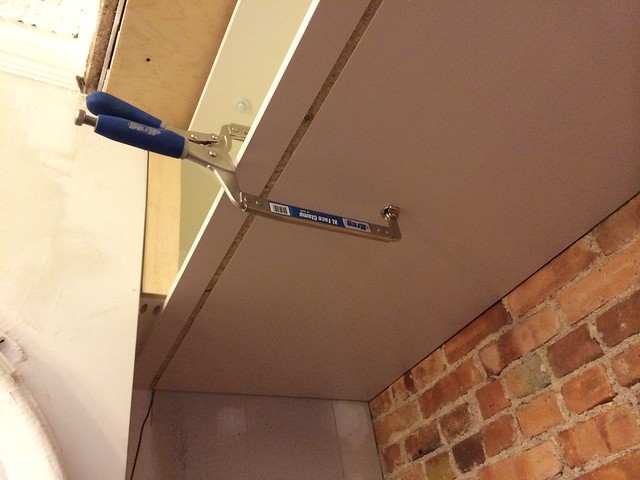
Then we needed to screw in a little metal bracket to keep pressure on the connection.
Then it failed completely.
Charred bits of plastic and metal meant the connection just had to be replaced.
For those of you who have never worked with LED strip lighting before, it’s pretty easy, gives off great light, and uses very little power. I’m a fan.
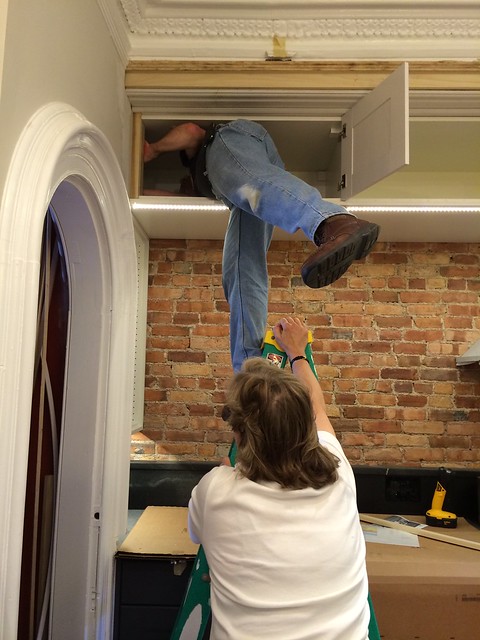
Fixing this is relatively straight forward and one of the reasons I just about had a hissy fit last week. What should have taken all of 5 minutes let me onto a wild goose chase that ended in venting my frustration on the internet. Solid plan.
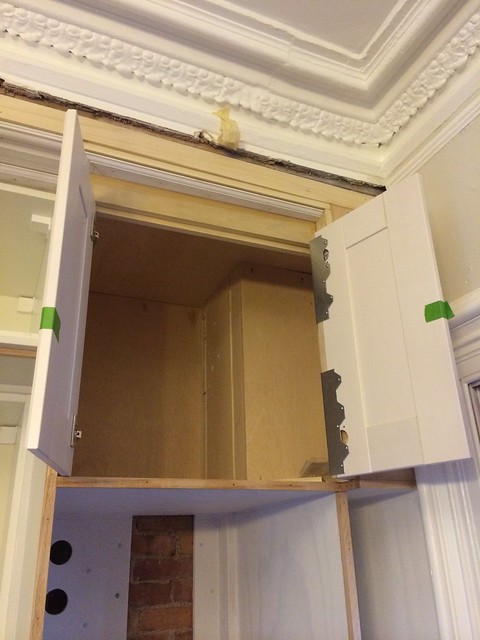
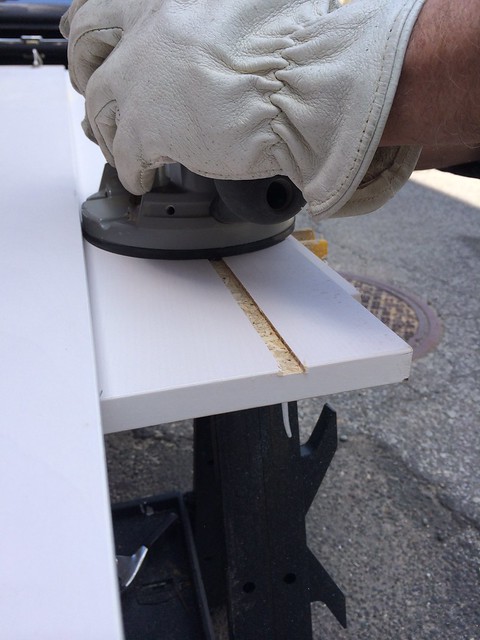
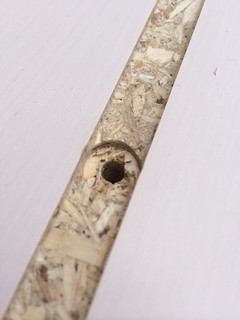
All that’s required to fix this is cutting the strip back to a new connection (which are the copper bits every 2″) and grabbing a new connector.
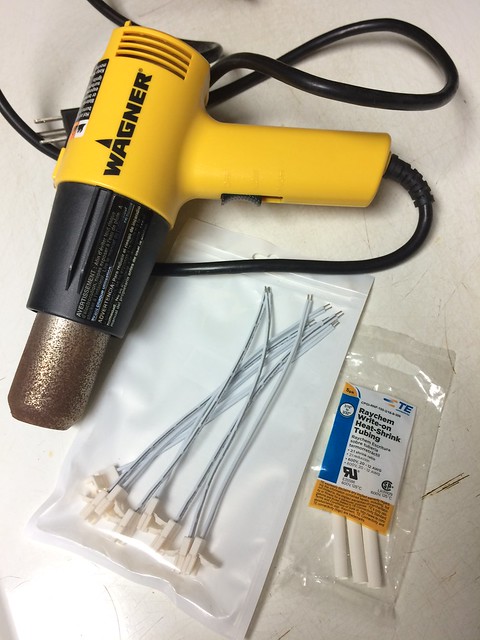
The new connectors were MIA. By Tuesday, I gave up searching for them and just bought new ones. And – in case you’re wondering – why, YES, the old ones did in fact show up hours after I’d finished fixing this.
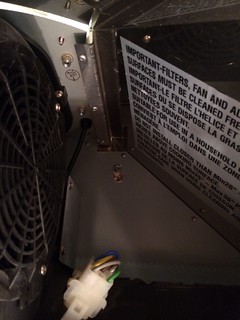
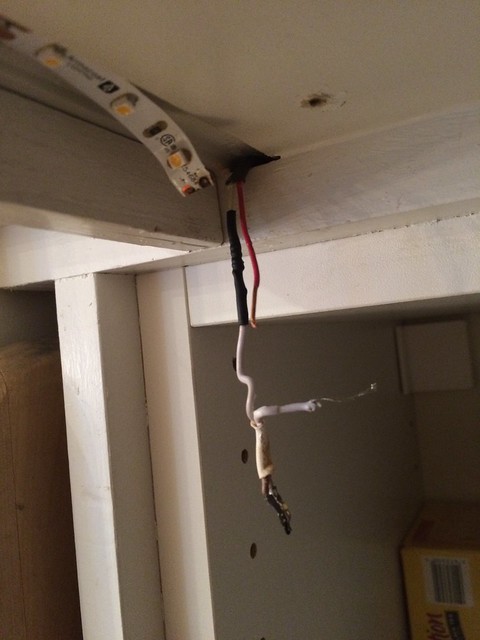
To repair, slice through the old heat shrink tubing (that black casing you see on the white wire) and take off the old connector. Put new heat shrink tubing over the wires of the new connector.
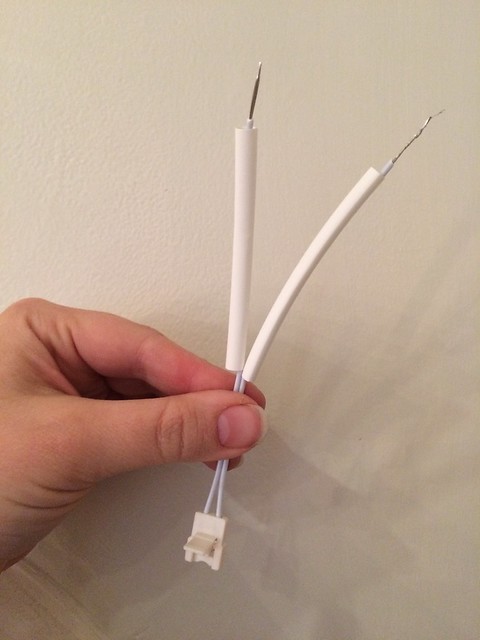
Wire it back together.
Test. Make sure you did it right. Positive to positive. Neutral to neutral. It matters. Then cover your connection with the heat shrink tubing and heat it up gently.

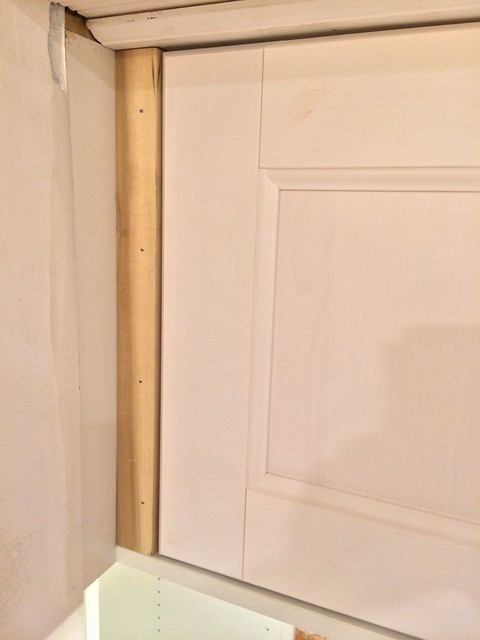
When you’re doing this – be sure to keep the heat moving and as indirectly aimed as possible to any painted surface. Which is a fun challenge when you’re aiming it directly at a painted cabinet but we survived. Tube is shrunk and the cabinet isn’t bubbly.
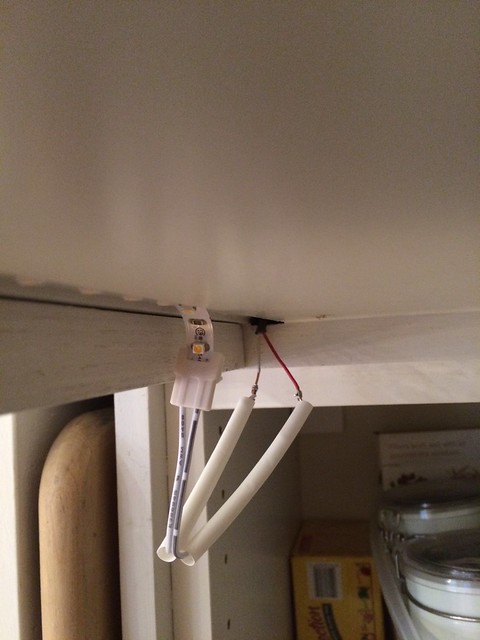
I coiled the wire up and used some clear packing table to hold it in place. I’m sure there’s something more professional out there but it was free, clear, and I really didn’t want gravity to affect this new connector either.

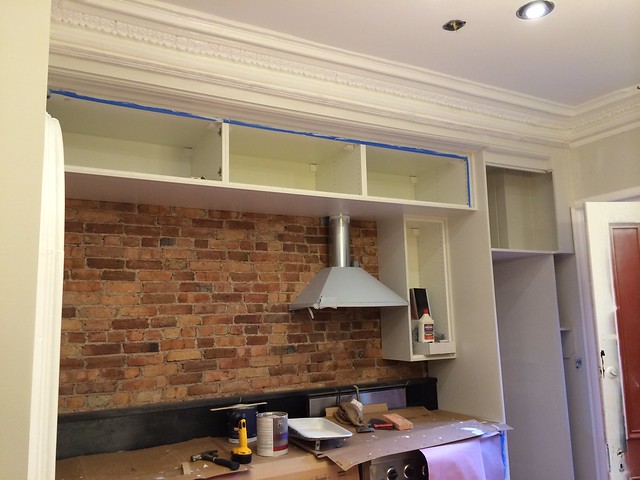
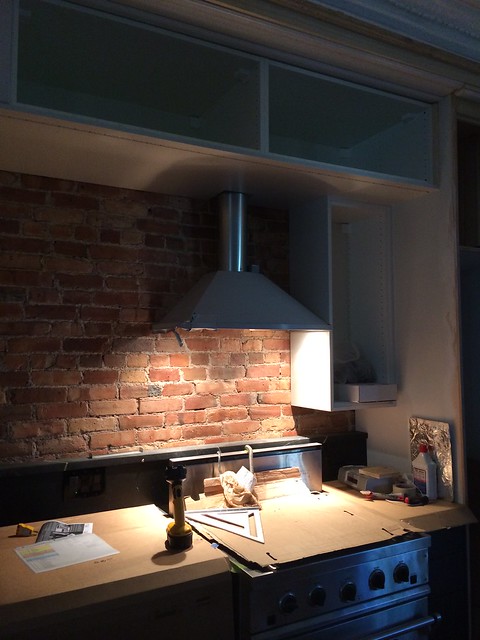
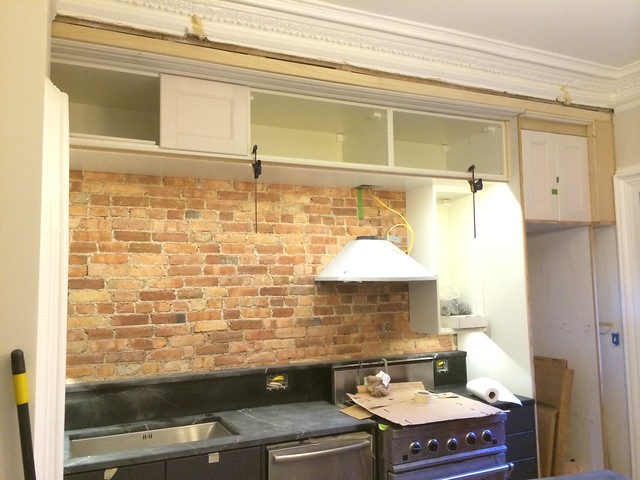
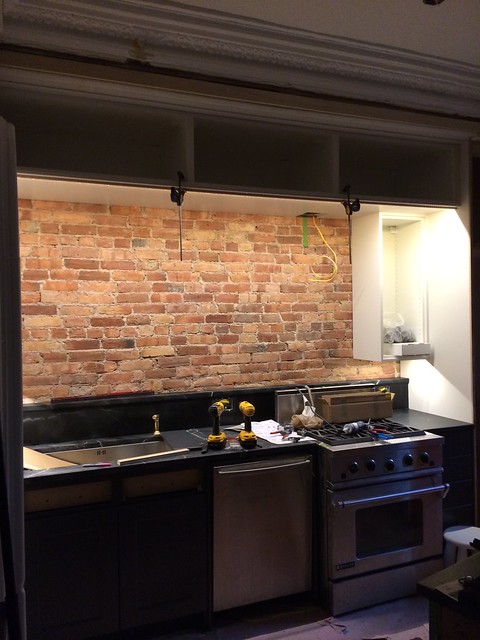
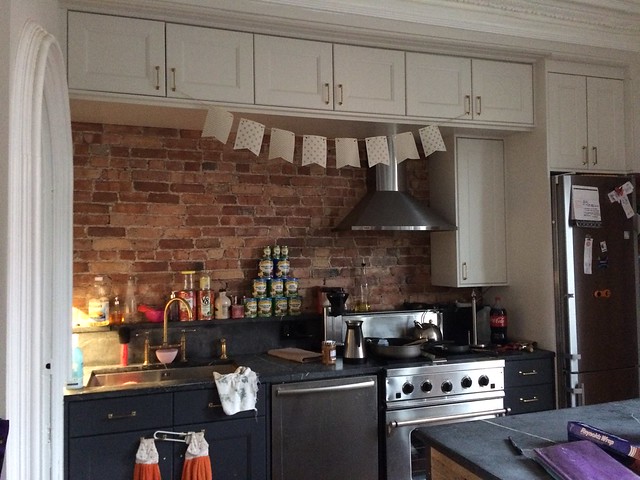
ALL DONE!! And it’s so great having that light back. We have can lights but there’s something really special about having this light back. The can lights are behind or above you when you’re at the counter. This under cabinet light is right in front of you, so it’s a nice wash across whatever you’re doing.
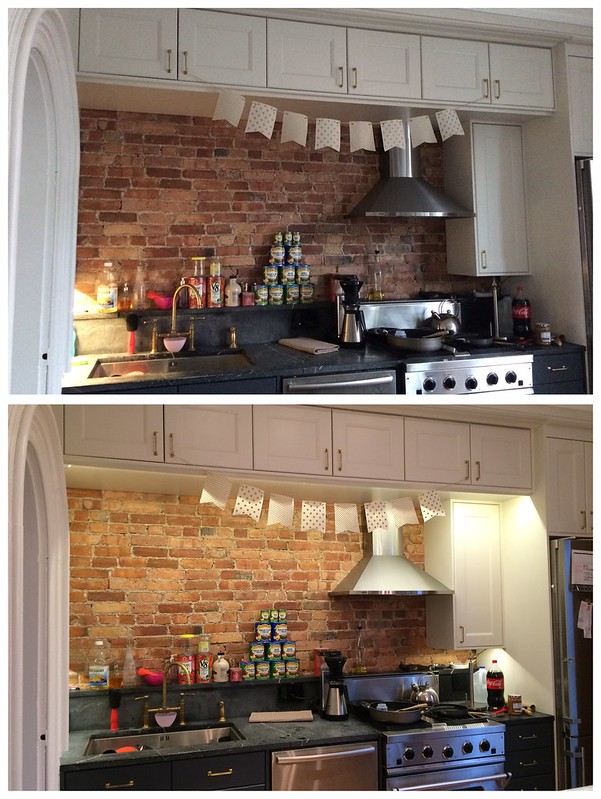
TA-DA!!! Our awesome, cluttered kitchen. With fixed under cabinet lighting.