
The thing about posting kitchen updates every week (rather than taking 3 weeks off and coming back with a killer HOLY-CRAP-LOOK-AT-ALL-OF-THE-THINGS post) is the amount accomplished looks a little piddly. It FEELS amazing though.

This weekend was incredibly productive. Little details that had been hanging over me got crossed over the list.
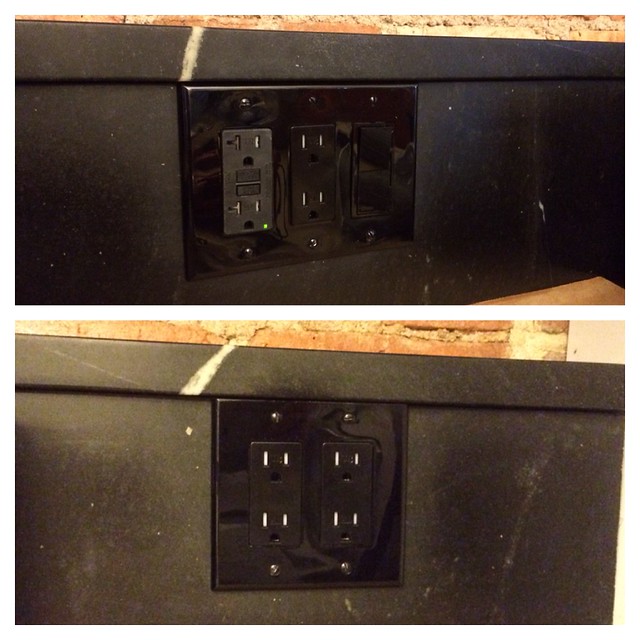
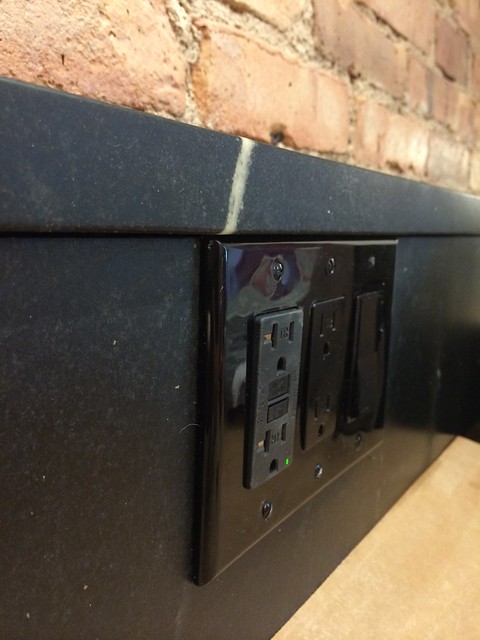
Dad installed the outlets & light switch in the backsplash.

I love that the black pretty much disappears on the soapstone. There’s a 3-gang to the left of the stove and a 2-gang to the right of it.
The slight overhang of the shelf/ledge also comes out just far enough to cover the depth of the faceplate. I would love to pretend I designed it with that in mind but it’s totally a happy accident.
We can go into more detail about the electric in the kitchen in another post but the switch controls the 3 can lights installed in the “kitchen” side of the ceiling. The other can lights (in the “dining room” side of the ceiling) are operated by a switch on the opposite side of the room.

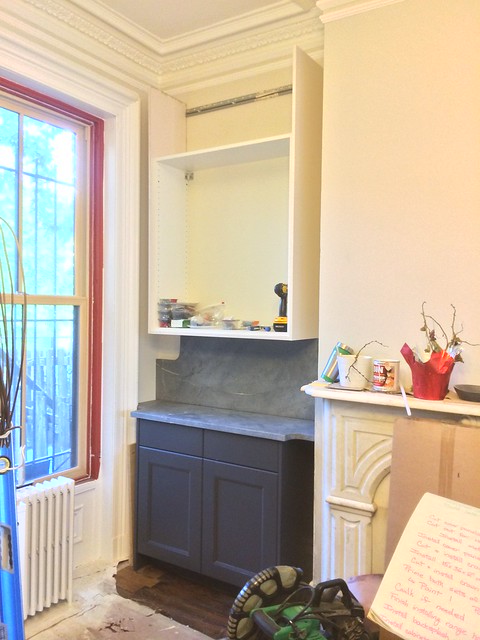
(old shot before cabinets were installed)
My best friend came into town for Saturday to get her hands dirty and help.

This girl, man. THIS.GIRL.
We killed it with the trim.
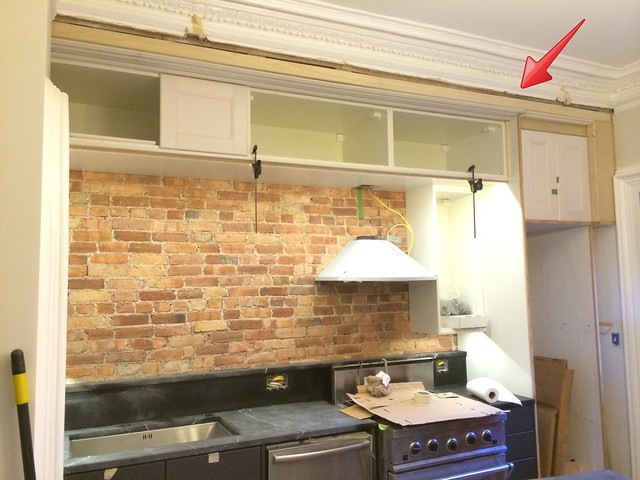
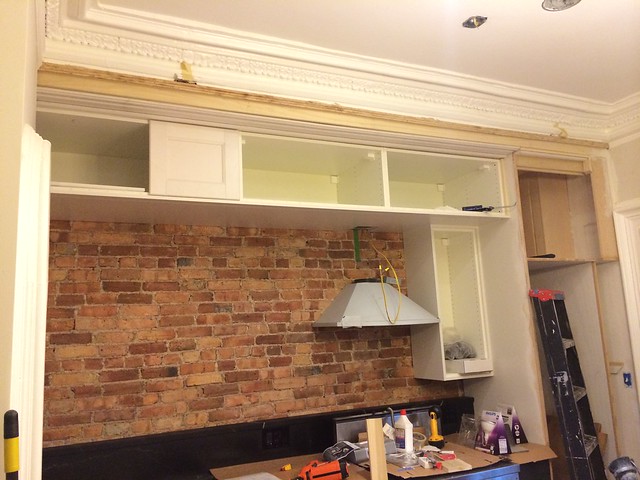
The 36″ upper cabinets were looking a little pathetic last week.
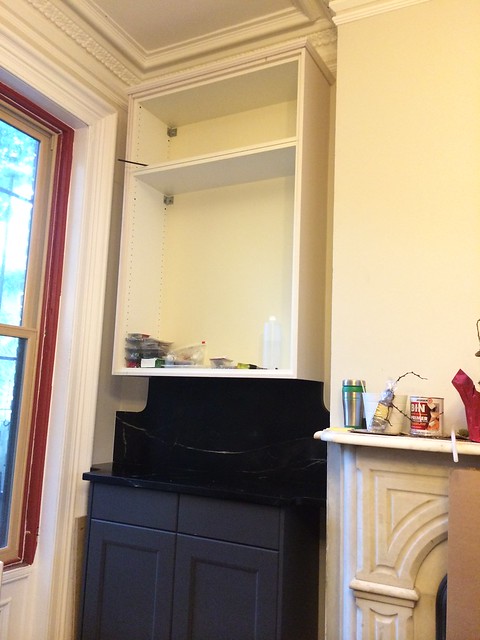
I had taken off the 15″ upper cabinet for the counter installation. Loosening the bolts on the 39″ high upper cabinet allowed the cabinet a little bit of play up & down, which I needed to get the backsplash installed.
I am planning use this nook of 36″ wide cabinetry to store most (if not all) of my china and serving pieces. Fun fact about me – I have a rather extensive collection of china/dishware. I think the count last stood at 7 different sets but I’ve never lived in a place that I was able to store everything all together. Hopefully this set of cabinets will house it all. Hopefully.
With that in mind, these upper cabinets are going to be HEAVY. I didn’t want to put all that weight solely on the rail system, so I designed the backsplash to come right up to the cabinet. The bottom, back edge of the cabinet actually rests on the top edge of the soapstone.
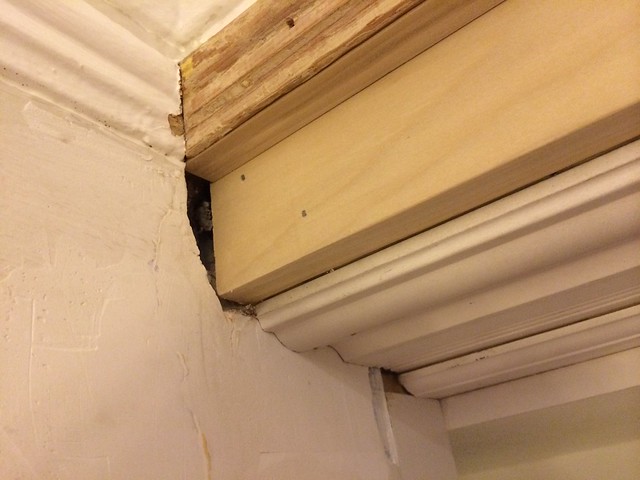
Once the soapstone went in, the 15″ high upper could be reinstalled (which Megs did) and then we could trim it out with some crown.

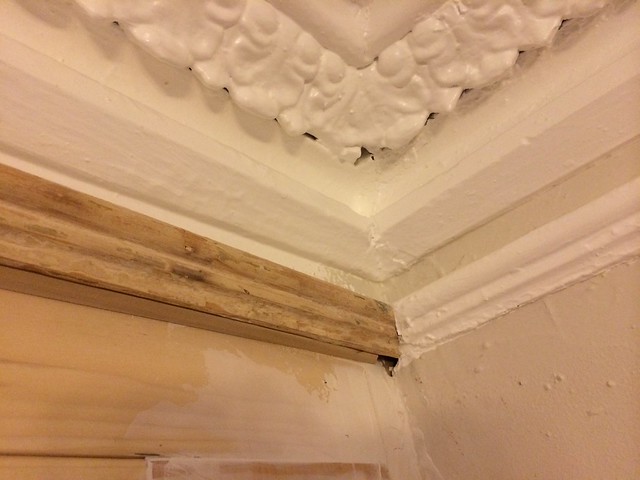
The more time consuming project was reinstalling the missing picture rail trim.
I didn’t originally take it down, as you can see in the picture below.
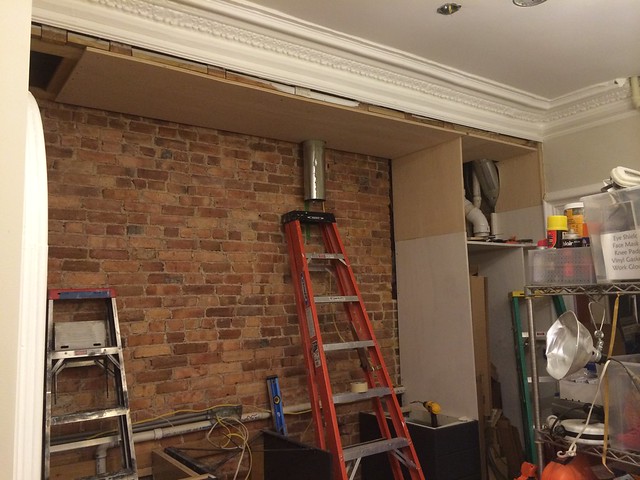
I thought I might be able to just work with it in place but, as things progressed, it became obvious that probably wasn’t the best choice.
Then I thought maybe I’d just pull the old nails out of it, slap it back up and call it a day. (And my mother just laughed.)
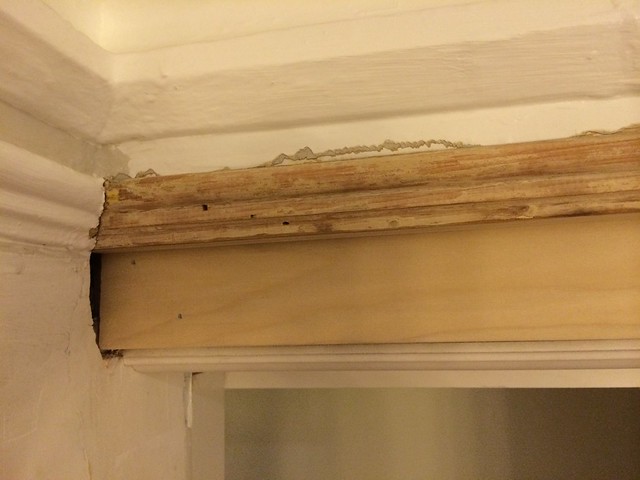
The trim was covered in 130+ years of paint, spackle & plaster. The edges and mitered corners were crusty, so I got out the heat gun to just clean that up a little.
2+ hours later, Megs & I had stripped the entire piece.
Here’s the thing about stripping lead based paint – in my personal opinion – it’s not all crazy ridiculous as most scare tactics lead you to believe. I’ve read the literature, guidelines and laws. There are certain protocols any professional company must adhere to so, if you’re hiring the job out, be prepared for a litany of requirements.
In NJ at least, things relax a little if a homeowner is doing the work themselves. Should you do your best to adhere to the guidelines as much as possible? ABSOLUTELY. Are they going to cart you off for not being perfect? Nope. Are you going to immediately get lead poisoning? If you’re careful and follow the guidelines, highly unlikely.
Do you own research. I’m sure every state is different. Here in NJ, you can strip lead based paint a variety of ways but I find a heat gun works the best. Use one that doesn’t get over 1100 degrees and wear a respirator. Covering your work area with plastic to contain the little paint bits is also smart. Then put it all in a plastic bag and throw out in your regular household trash. I hand-stripped the entire portico this way and it came out pretty spectacularly.
Anyway, that’s my little soapbox about lead paint. Be careful and smart but there’s no need to fear it.
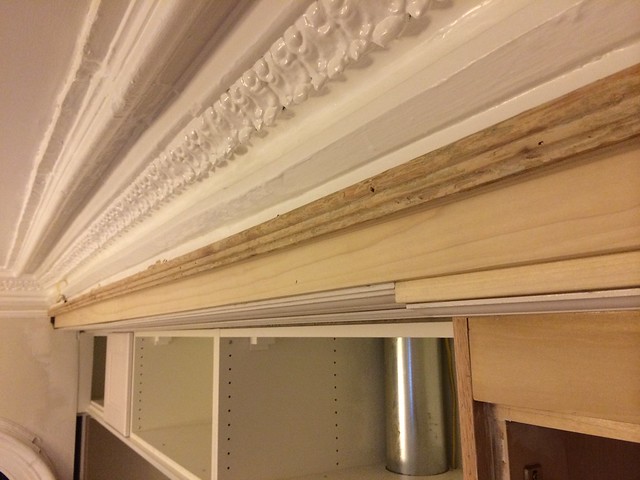
Because I had removed all the plaster from behind the picture rail, it needed to be built out a little more than just the poplar face I had already installed.
Of course nothing is straight in this house, so the spacer piece ended up needing to be 3/4″ thick on one end and taper down to 3/8″ thick on the other end.
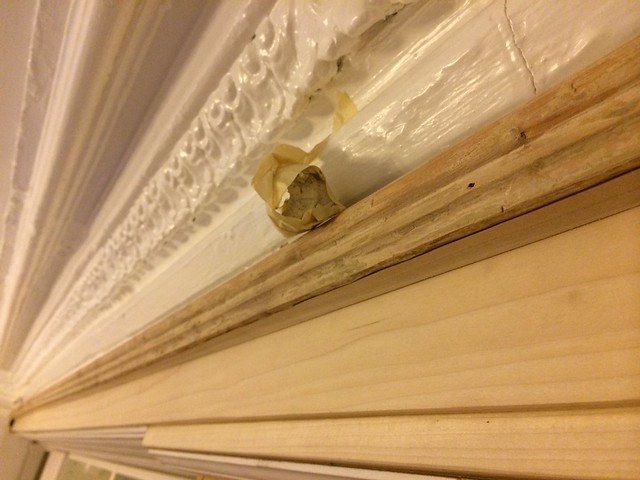
There’s plenty of holes to fill, so what’s a few more.
All in all – it’s really coming together! Getting this trim back up was huge with regards to getting the paint prep moving.
Done by the end of June?? Maybe.


Love your updates no matter how much you get done, love following it. Cheers
Hooray!! Hooray! Progress………. looks grea1t
Oh man, I am so excited for this kitchen. So much goodness!
Oh, man, that soapstone is gorgeous! Gorgeous!!!!
You are making such a huge difference in that kitchen! Can you imagine what it would look like if you stripped all of that crown, with all that gorgeous detail work??! But I know exactly how much of an undertaking that would be. I bought an old farmhouse years ago and had this grand idea that I was going to strip all of the woodwork in the whole house. After tackling ONE doorway, I came back down to reality!
Pingback: Kitchen: Sort of Lazy Days of Summer |