

So last week I dropped the ball on updating you guys. I meant to do it Wednesday night and then Thursday but it never happened. Life has been…jam.packed.
I don’t really talk about my day job here but I work in admissions at a large university. Our office has been Director-less since January. There’s a new Chancellor and a major strategic planning processing underway. My biggest project/event of the year is coming up on the 12th. I’m solely in charge of planning, coordinating, designing, & all-around making happen our Open House. Last year we hosted over 2,100 people. It’s a lot of change and a lot to do but in an exciting way.
Planning & designing events and projects is what I do. Theatre & productions are at my core and, when you think about it, everything is a production. In the business & education world they just call it “project management.” Same thing. But I make things look good too.
Anyway, the point is – between work, the kitchen, the dogs (Bruce had cataract surgery and a liver thing on top of his relatively new diabetes), yoga (I’m doing the April 20 classes in 30 days challenge at my yoga studio), and life in general – it’s hard to fit in time to sit, reflect and update you guys.
Thank you for your patience and support. If you’re interested in more day-to-day snapshots of my life, head on over to Instagram. THAT I can manage to fit in on the regular. Love me some Instagram.
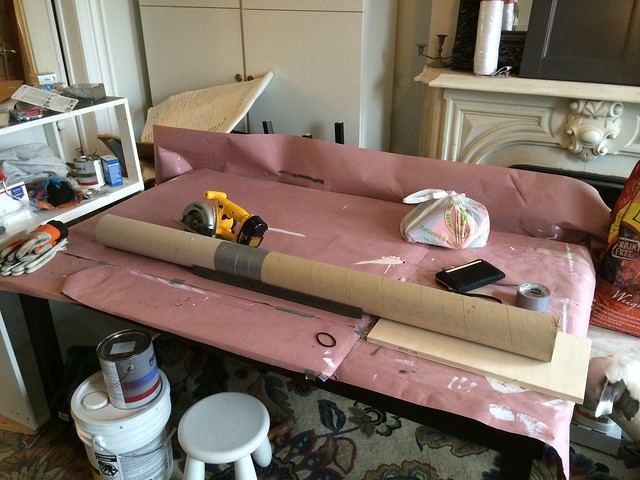
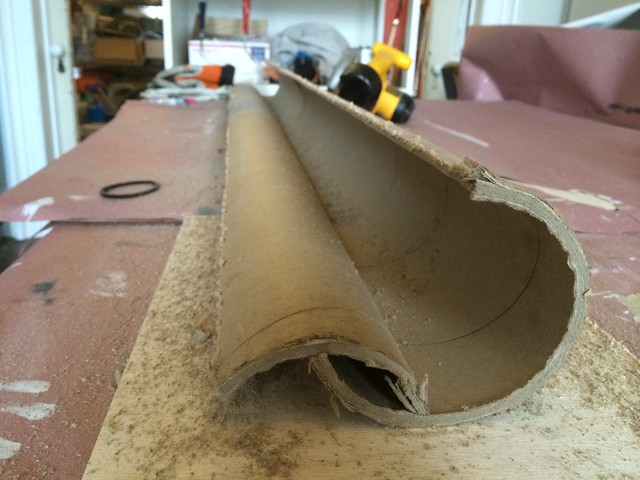
Because I don’t have the bandwidth to give you guys detailed How-To’s just yet, here’s a slew of pictures about what’s going on in the kitchen –

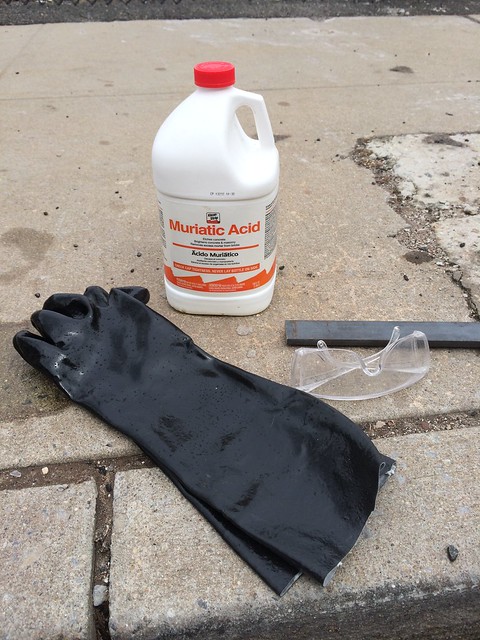
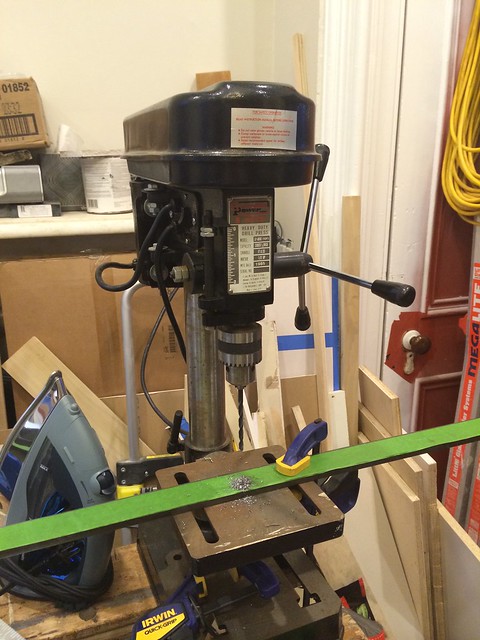
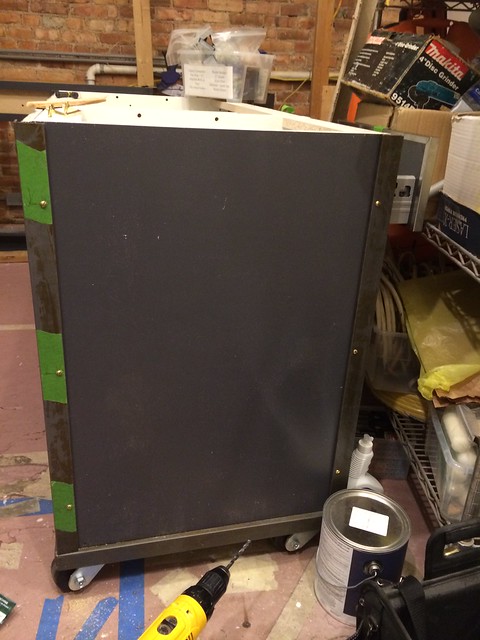
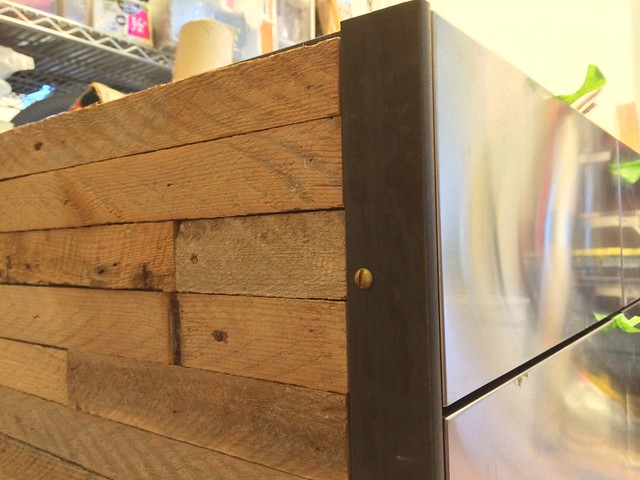
Muriatic acid will easily remove the mill scale that comes on hot rolled steel. Water also rusts up the naked steel pretty quick. After getting the mill scale off of the steel, I played around with the acid (wearing chemical gloves & protective eyewear, of course) letting parts rust and then rubbing them with the diluted acid to remove some of it. I wasn’t sure how I wanted the steel to look but I didn’t want the mill scale on it and I didn’t want it to be a solid, flat color. I’ll talk more about this when I get around to doing a how-to.
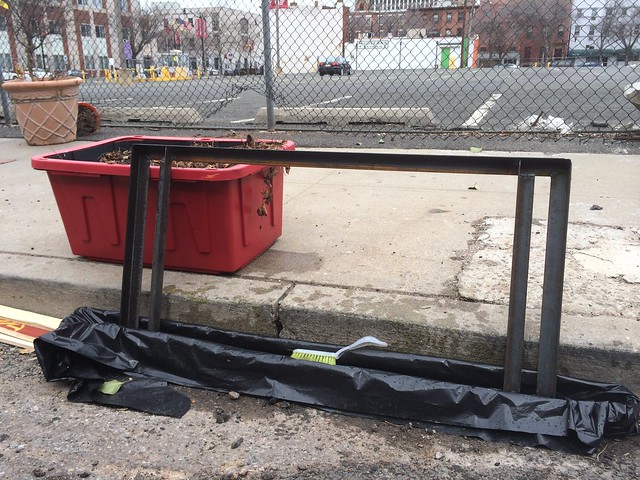
(before)
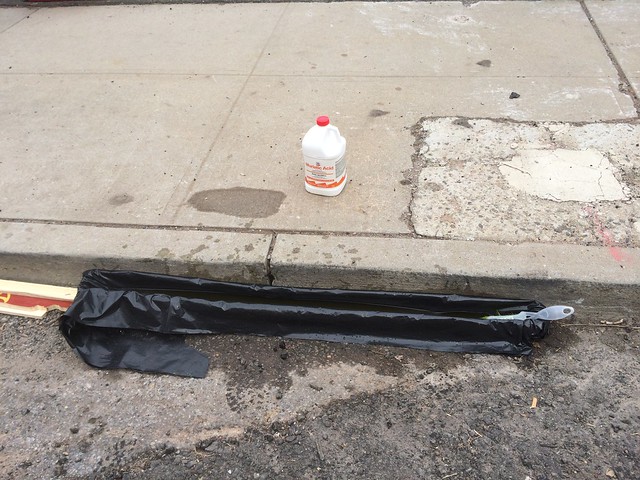
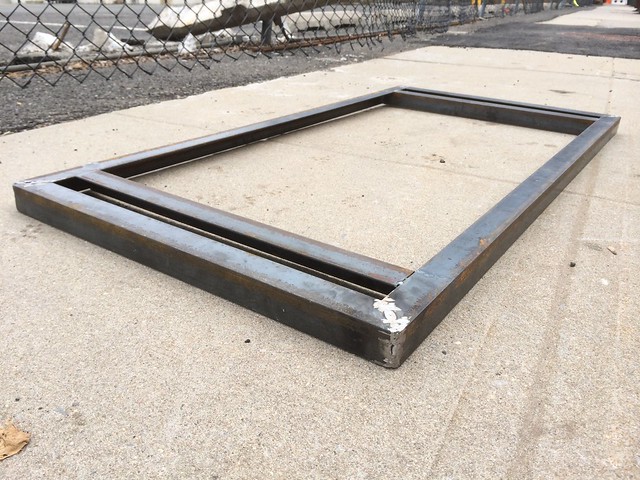
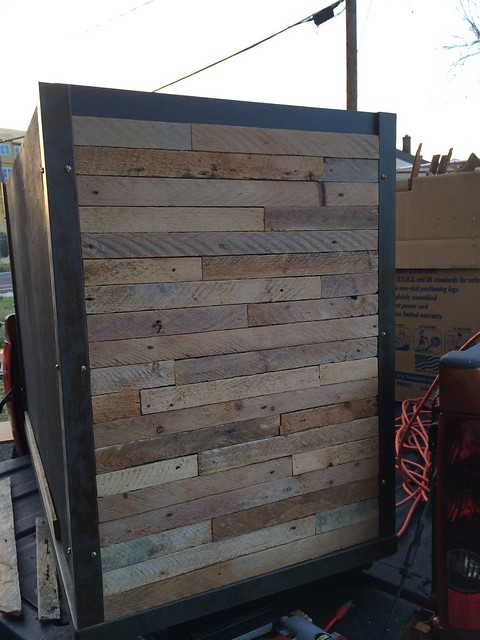
(after)
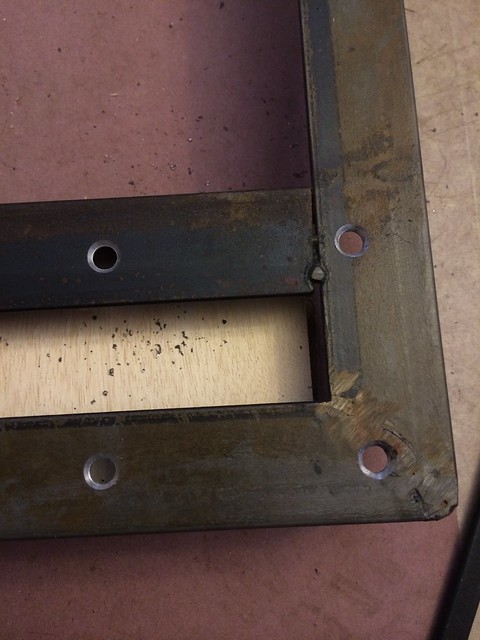
While this is a photo showing how I drilled & countersunk holes to bolt on the casters, it also clearly shows the dip line of the muriatic bath. The dark (left) side spot is mill scale. The right (lighter) side of the line is what was in the acid bath.
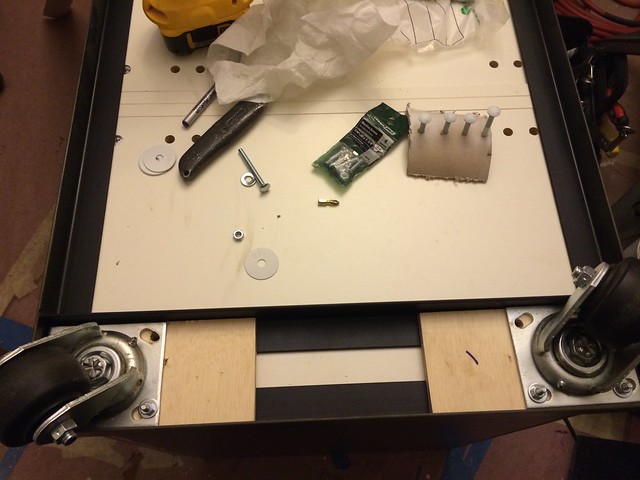


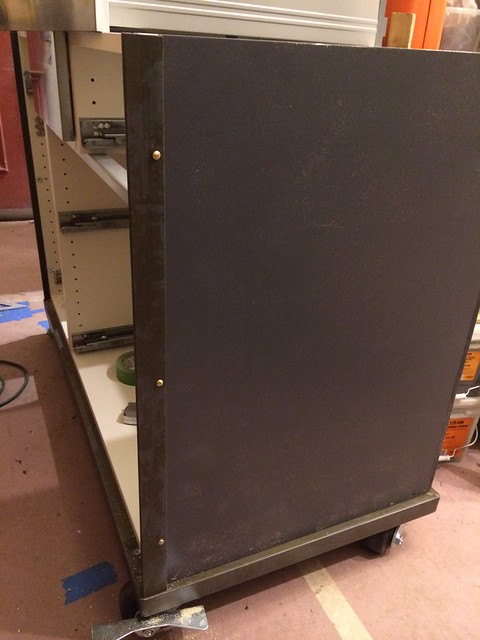

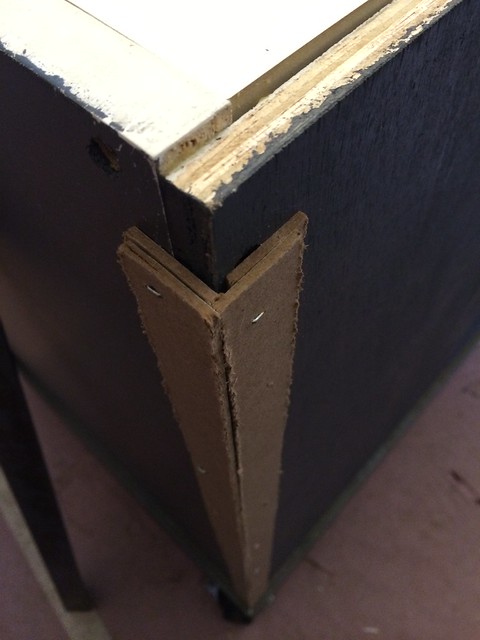


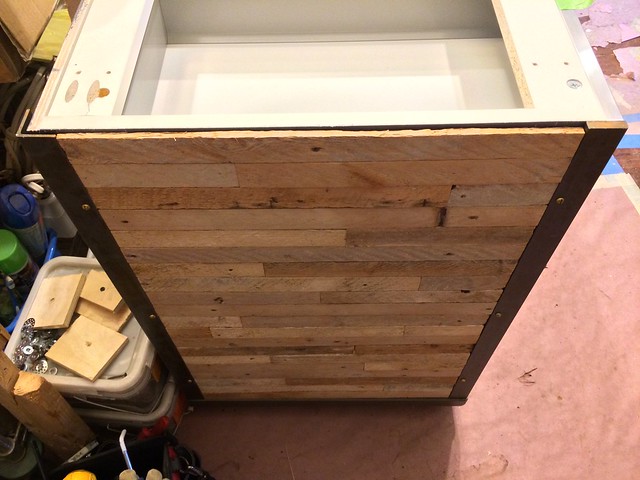
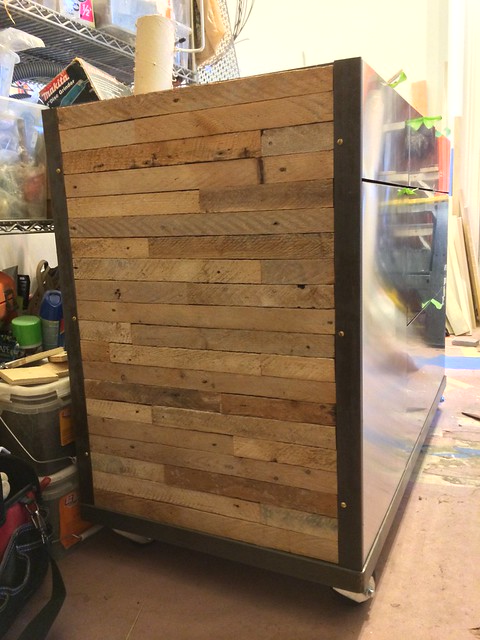
Old lath. Steel. Stainless. Brassy slotted machine bolts. Brass pulls (eventually). Soapstone (eventually).
It’s fun to see something you designed in your head come together as planned (shockingly!) and look good.
What’s left for the island? Wrap the other side & back with lath.
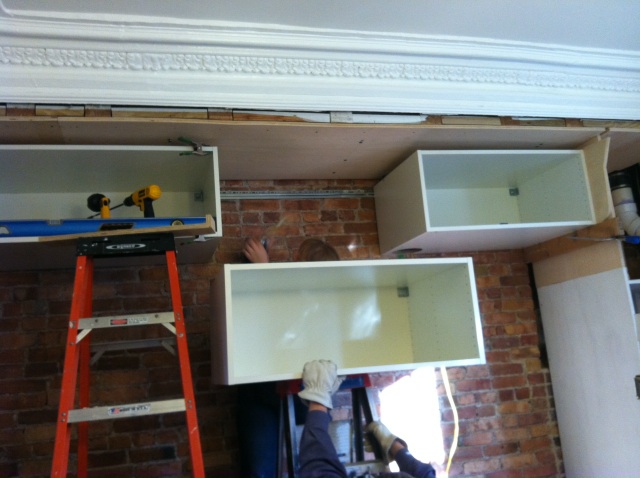
Now for that 3rd cabinet I promised you 2 weeks ago.

The giant behemoth one on the left.
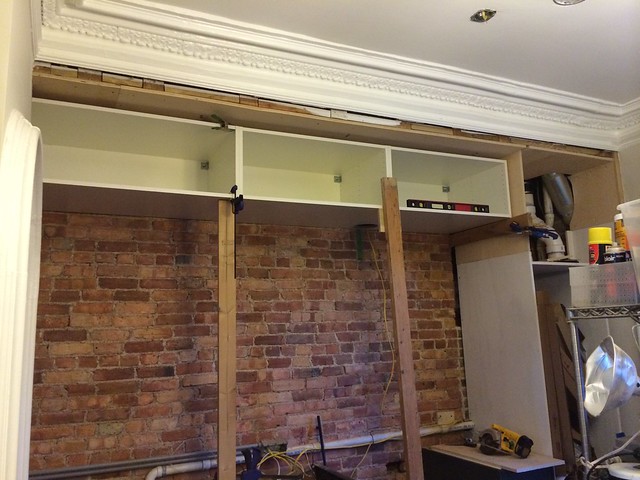
This is what it looked like trying to put it up.
(Thanks, Mom!)
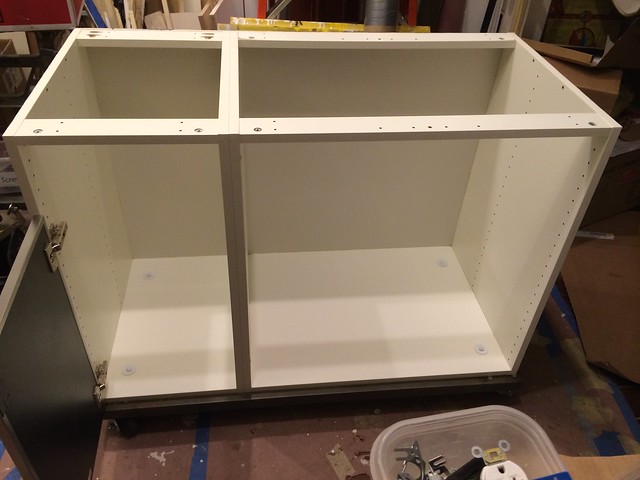
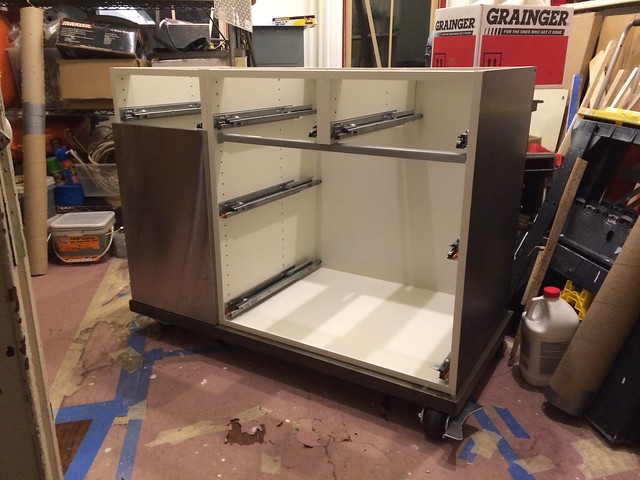
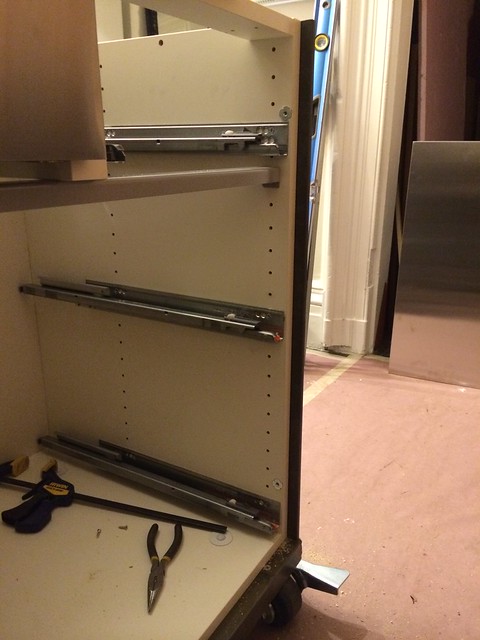
I bought an IKEA cabinet because it was worth $40 to me to have the sides predrilled with all the holes. I replaced the top, bottom & back with custom cut pieces. Home Depot stocks 3/4″ melamine sheets, the thin backer material & white edge banding (to make it look like a solid piece). Word to the wise – don’t iron your finger when putting on the edge banding. It hurts.
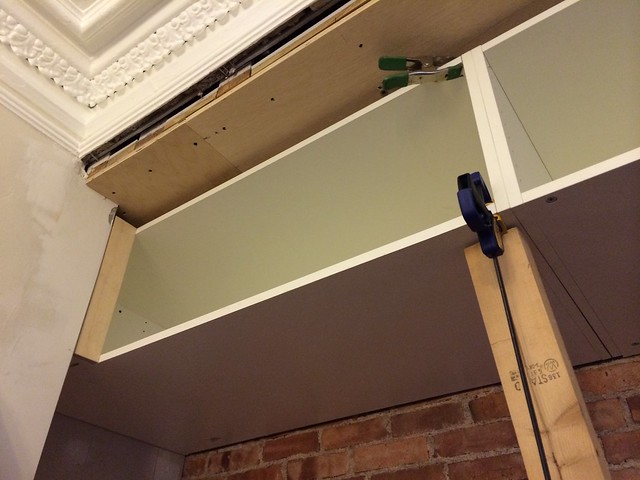
I’m pretty proud of these cuts. It all fit together as planned. You’d think I do this on the regular or something. (Oh wait…I do. haha)

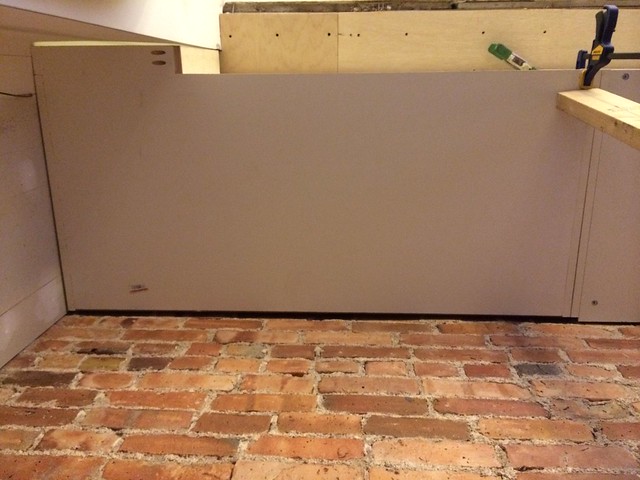
The wall bows. Whatevs. Caulk. The bottom of the entire row is getting covered with a cover panel anyway.
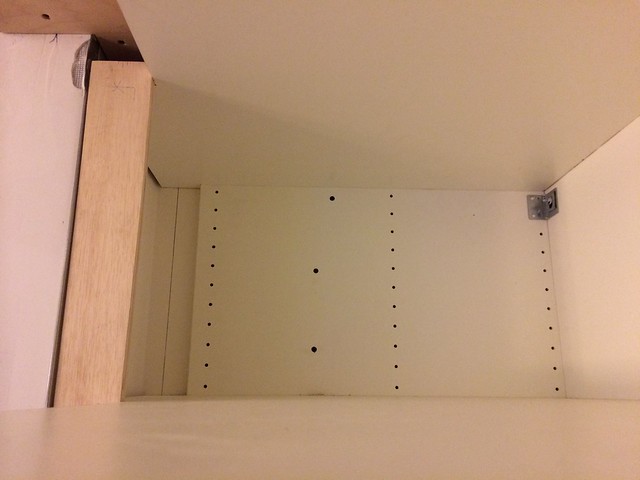
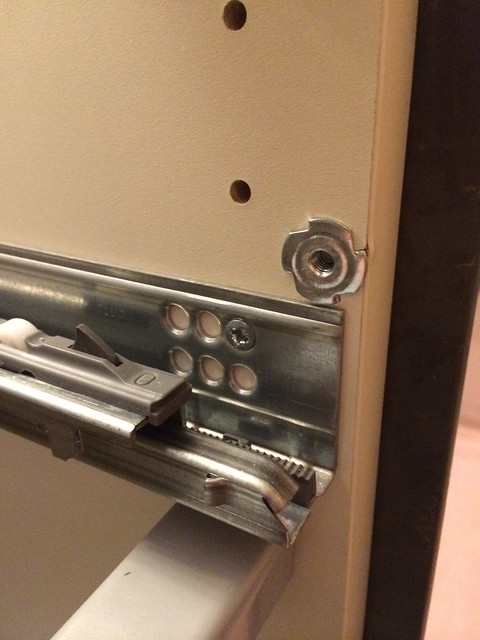
The dark staggered dots are screws. Dad & I got this cabinet pretty level and screwed the side into the center stud. The dark line on the far left isn’t a crack in the spackle. It’s a pencil mark showing the edge of the corner stud.
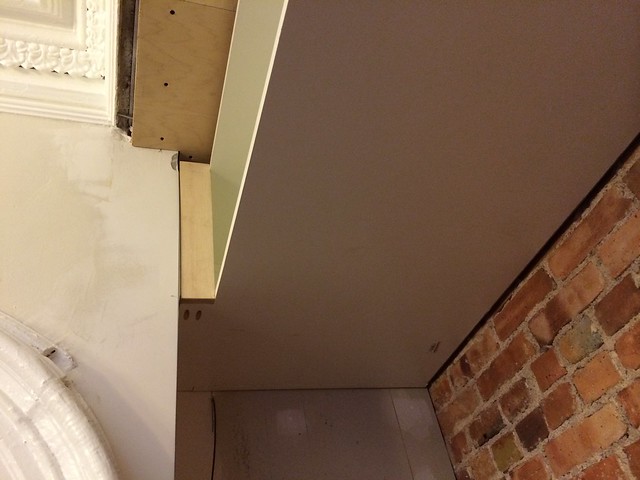
We had taken cabinet #2 (the middle one) down to get cabinet #3 in.
Cab #2 slipped back in the middle after #3 was up. It looked so small in comparison but it’s a legit 36″ wide. (HEEEYYYYYYYYYY STORAGE!)
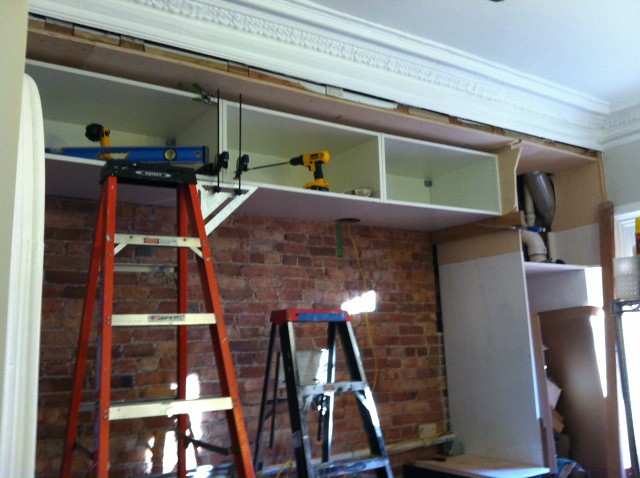
The whole row of 15″h cabs has been bolted together. Next step is to level them up by bolting them to the soffit ceiling on the front edges of each cabinet. I don’t want all the weight & force to rely solely on the rail mounted to the brick. They’re just too deep. By mounting them from the fronts too, the weight on the back rail becomes more of a shear force, rather than a twisting one. YAY engineering!
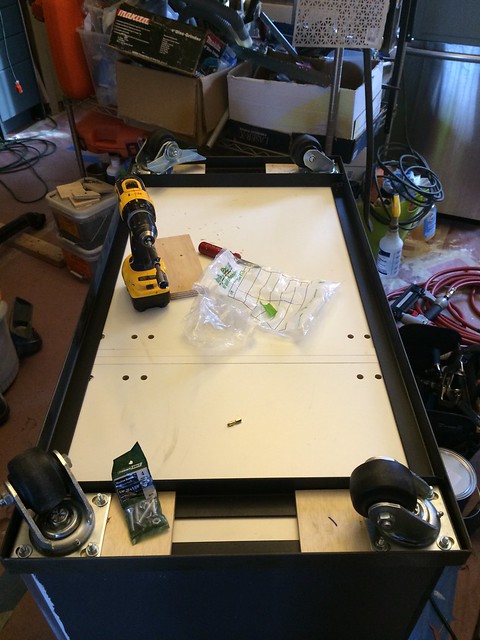
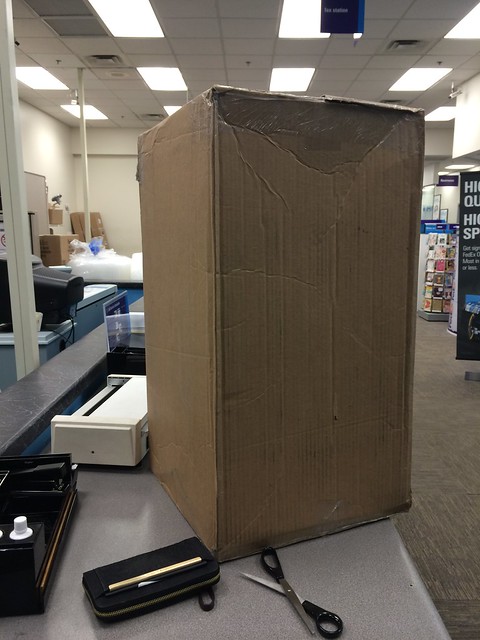
Also, my faucet arrived. In this hilariously giant box.
I haven’t nailed down a decorative plater to do the stripping/plating yet. If you do that and want to help, email me. This thing is going to look amazeballs in raw brass. Raw brassy goodness….
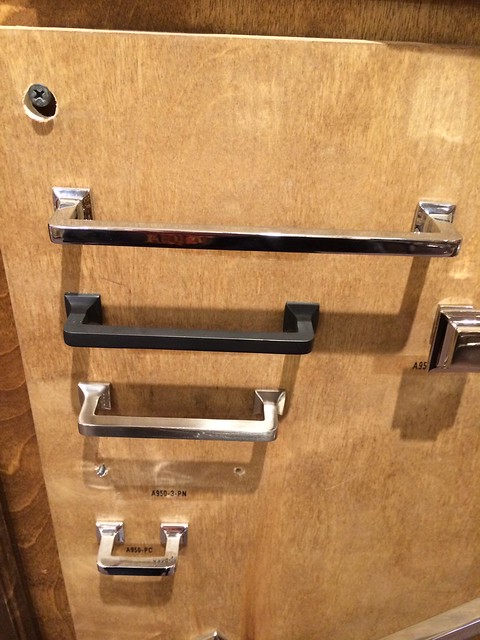
I am THISclose to pulling the trigger on some pulls.
I dig these Mission style pulls from House of Antique Hardware. They’re the brassy one in the photo below.

The biggest they come is 4″ and I was hoping to find something bigger for the 30″ drawers on my island. The ones shown above come in unlacqured brass but they feel a bit chunky. I like the more delicate lines of the ones from House of Antique Hardware.
A different company makes ones with similar proportions but they don’t come in brass. Story of my life.
I’m getting closer to not caring and putting the 4″ers on everything.
So yeah. Moving along. Progress. Cabinets. Almost island. Making it happen.
What’s going on in your kitchen?? I hear Sarah is almost done. B!tch. 😉


Your island looks amazing! I love that your kitchen is finally starting to look like a kitchen!
Don’t get discouraged. You are making the most progress! Sarah was ahead to begin with. At least you are not hopelessly stalled as I am.
That kitchen island is AMAZING!!!! I can’t even describe my envy over it right now! Truly wonderful.
Looks great! I love what you did with that lath. I have a HUGE pile of lath in my back yard right now–maybe I will do something with it one of these days..maybe an accent wall behind the tv in the future mancave?? The hubs is the assistant director of admissions at a local college here in St. Paul so I am sure he can relate to your pain right now–3 of his coworkers are out due to birthing children.
Brazing is like welding for brass (also works for steel). You could buy the 4″ pulls and then some brass stock and extend the pull to the length you want. More fun things to learn!
Pingback: Kitchen: Flying High |
Pingback: Kitchen: Sort of Lazy Days of Summer |