

As with any project, there are multiple moving parts & projects and I bounce around, often working on several things at once. Or at least several things each week. Last week, I talked about my foray into the wonderful world of welding. The week before, I was really excited about the soffit getting all buttoned up. We’re gonna bounce back to that this week.
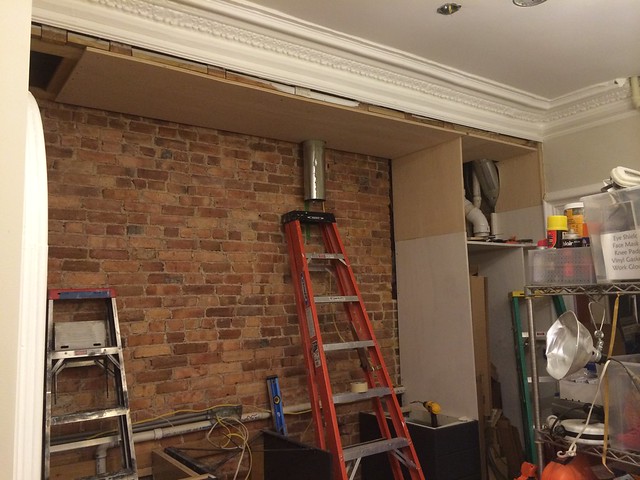
When we last left off, this is what the kitchen looked like. I no longer saw the underside of the upstairs bathroom floor and it was epic.
Over the past 2 weeks, Dad & I have been pushing really hard to get the upper soffit cabs hung. These 15″h x 24″d cabinets will hang directly under the soffit for seasonal and party storage.
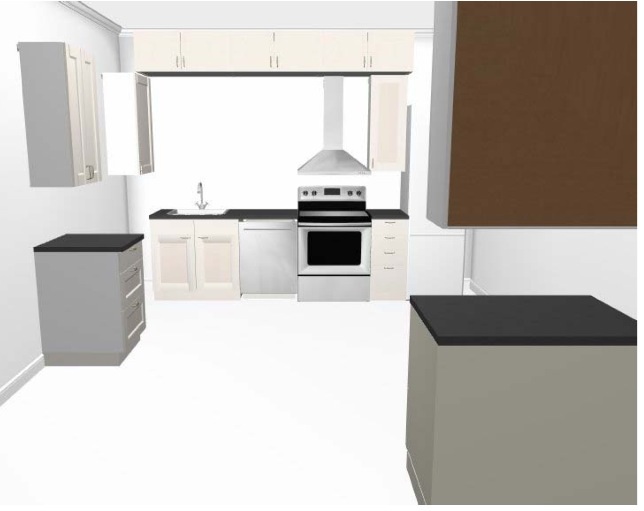
3 – 36″ wide cabinets (IKEA stocks these in both 30″ & 36″) would almost fit perfectly across this open space. But, as you may recall, I have 14″ of blind space that tuck off to the left of the sink.
I’m the girl who’s retrofitting every base cabinet possible for toe kick drawers. I’m not going to let 14″x15″x24″ of space go unused. So – like everything this kitchen – I must make it more difficult.
We began by hanging the rail. The math for where we decided to put the rail took into account a variety of variables. The soffit itself slopes a little but the cabinets should hang level. I am wrapping every cabinet with 3/4″ cover panels so that the doors look inset. I love the look of inset cabinets but not the price (obvs.), so I want room above it to add a panel &/or crown moulding.
While we’re on the topic of inset doors, Michelle at 4 Men 1 Lady just did a whole series reviewing her own kitchen now that it’s a couple years since her renovation. Her thoughts on insets cabinets were super interesting. I love her kitchen. SO pretty.
But back to my kitchen. The rail.
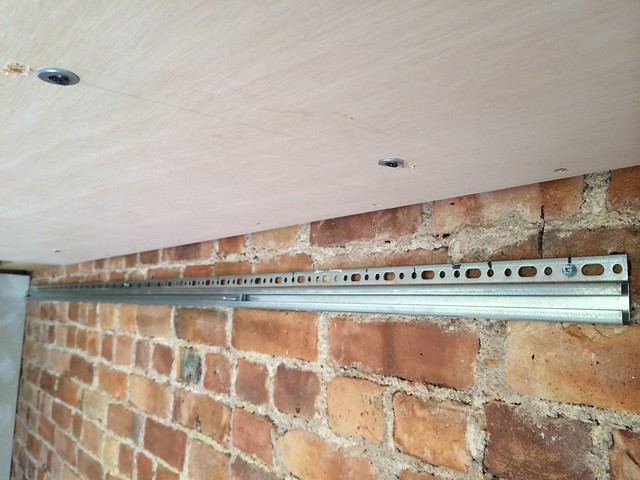
Once we decided where it should go, we pre-drilled holes at the beginning and end of each span – making sure it was level – and put it up with masonry screws.
Make sure to add the IKEA hanger bolts before the 2nd piece went up. The second piece ran right up to the fridge cabinet wall, so we wouldn’t have been able to get them in after the fact.
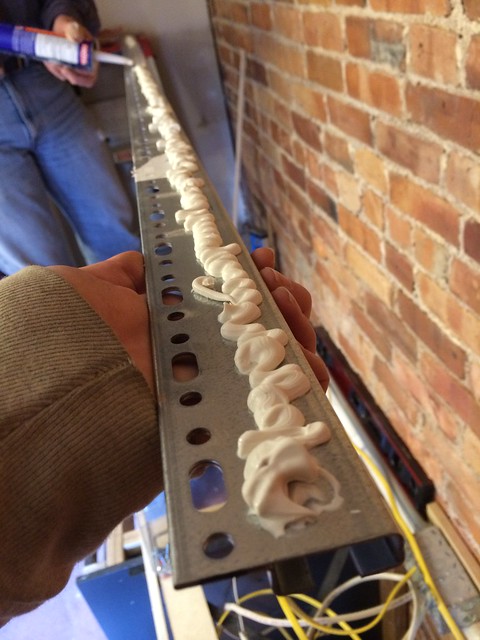
We added some construction adhesive to the back flat part of the rail, even though this isn’t part of the standard installation instructions. The brick wall is really uneven. The adhesive should help fill in the nooks & crannies, harden, and help stop any potential flexing. Plus it would add some additional staying power.

This photo was to show the nifty little piece of scrap would we used to join the two pieces of rail, so that they lined up perfectly. What I see when I look at this photo though is an exhaust pipe that we deliberately permanently installed and then had to work around. We did a really great job of making sure it wasn’t going to move before we put the soffit plywood up. Almost too good of a job.
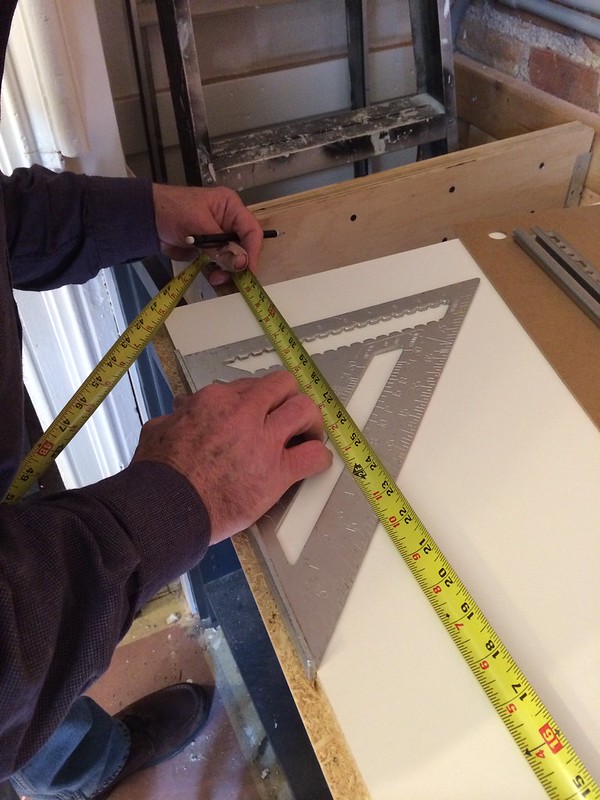
We started at this end, so we’ll call this soffit cab #1. Soffit cab #1 has the exhaust pipe running through it. I did SUCH a good job planning that the exhaust ended up being right on the inside edge.
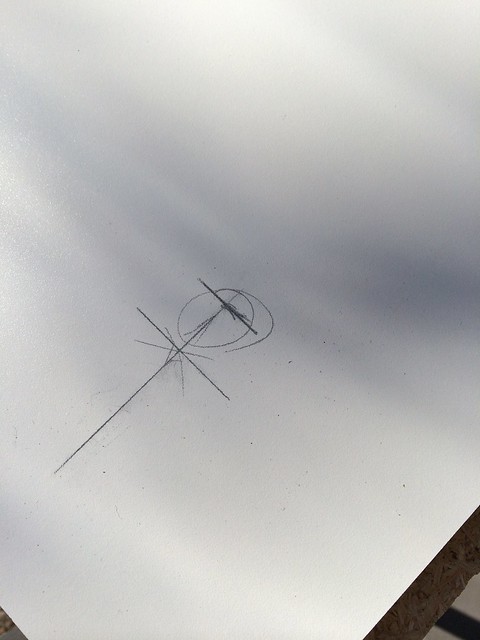
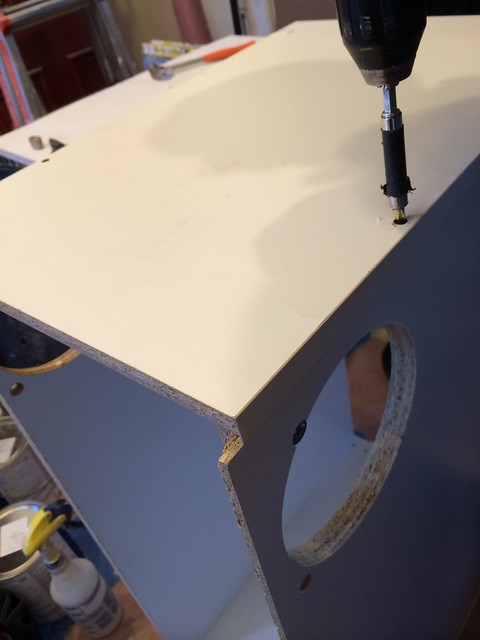
Quick tip – use a nail set to make a divot where you want the pilot hole to be. It’ll keep the bit from walking.

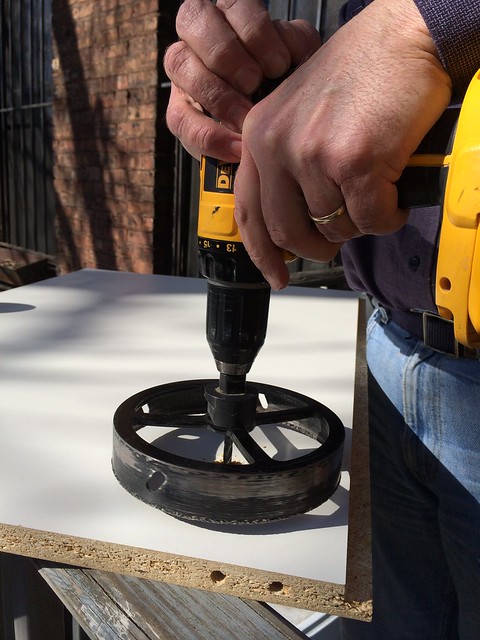
Then we used the 6″ hole saw from my recessed light installation to cut the holes.
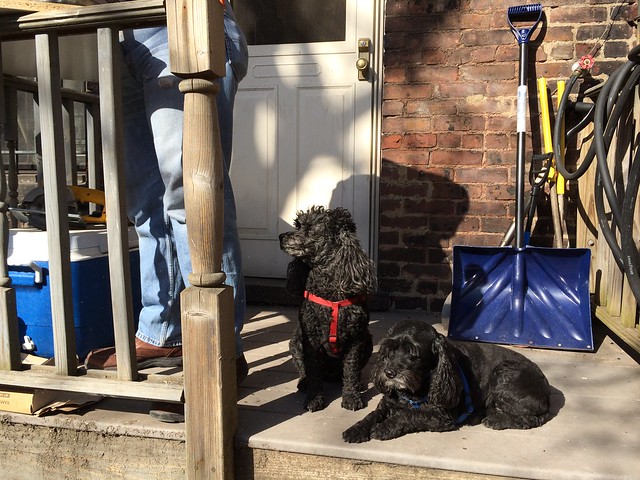
Our littlest helper dogs enjoyed the sun and the supervising. My parent’s dogs Phoebe & Jovi.
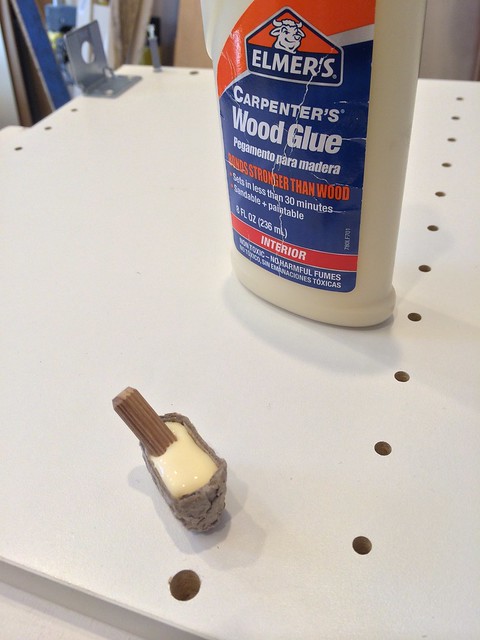
We cut both holes before assembling this first cabinet but assembly went as per the directions. Mostly. I added some glue to the dowels.
And a couple screws to the sides, since such a large hole had been cut out.
Then it was just a matter of getting it hung. There are no photos of this because our hands were a little full. Just know that getting the cabinet over the rail and bolts with a rigid vertical impediment (the exhaust) proved to be a bit more of a challenge than anticipated. We ended up trimming off the top lip that’s on the backside of the cabinet.
You can see the bottom lip in the above photo. The top has the same thing. It’s supposed to cover up the rail and allow for wires to pass behind the cabinet. The top will never ever be seen, so it got cut off in a heartbeat when we realized that there was no way it was making it between the rail and the exhaust pipe.
Also – because I did such a fantastic job of planning things so the exhaust would be just about as far left as possible – it made reaching the far left rail bolt a bit challenging. The bolt for this side ends up tucked a little behind the exhaust. Luckily a 12″ bit extension fit between the cabinet side wall & exhaust.
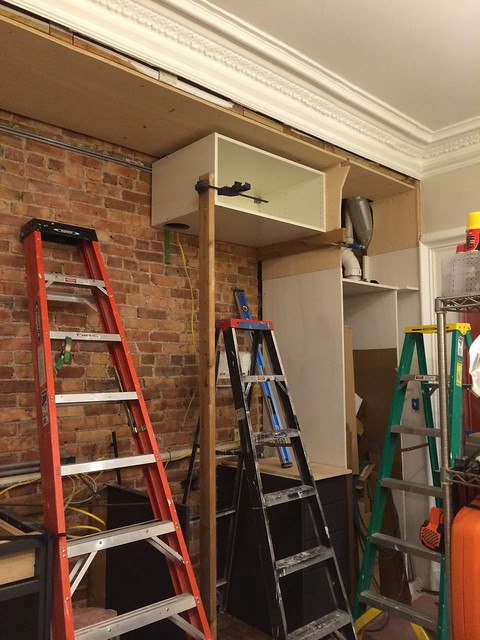
Cabinet #1 is up!! HUZZAH. Cabinets 2 & 3 in the next post. Cabinet #3 was also a special case. The middle one, #2, is the only cabinet of the bunch that didn’t require any modification. I’m sure I could make a middle child joke here but, as an oldest, I’m partial to the challenges that come with doing something for the first time.
I’m also noticing that the photo above has 3 ladders in it. All of which we used at the same time. One may think this is a lot of ladders but that would be incorrect. I think this represents half of the ladders in my house right now. So the real question is – how many ladders does a 1600 sqft rowhome actually need? Apparently 6. Plus a painters platform.
Now go check out Sarah’s grout and tell me what y’all have been up to.


This is so exciting. I love the idea of having a brick wall in the kitchen.. So much personality.
Your kitchen is coming along really well. Cant wait for the end result !
Your kitchen progress is impressive. Ours has been derailed by a trip to China, but we hope to be back on track soon. If only we get over this jetlag!
Pingback: Kitchen: Cabinets. Island. Life. |
Are you using a “thermal barrier” on that vent? I have been researching it extensively but I’m still not sure exactly how to do it. The best I could find was a suggestion to use a short 3 in piece of PVC, flexible plastic vent, or rubber hose between the outside vent cap and the hood as close to where the outside vent meets the conditioned space (wall I guess). I dont want condensation falling onto my cooktop. Are you addressing this somehow? I think the temps are a little worse here than there so maybe you dont need it??
cheap giuseppe booties