Thank you for your awesome comments yesterday! You are just too kind. Of course you’ll be seeing a ‘How To’ {for those who asked}!! But not all in one post. I took 744 pictures plus video while making this thing.
This headboard was a project. It involved significantly modifying the original headboard, creating an inset panel for the upholstery and actually upholstering it. Finally, I put the upholstered inset panel into the modified wood frame and screwed it in securely.
Lets start at the beginning {the easy part} -> Modifying the existing wooden headboard

When it first came home, I immediately decided it needed to be taller than it originally was but how high? I set it on the bed and then again on top of the box spring.


I loved the drama of it really high but decided the lower option would be easier. I could move the horizontal crossbar to be even with the top of the legs & not have to deal with cutting out some of the legs.
After deciding the height, I needed to demo. YAY demo! The silly wooden inserts came out with only minor cajoling.


The horizontal cross-bar came out with the assistance of my hack saw.


That was all back in December. Yup. December.
Fast forward to January and I thought I’d make a video HOW TO for you. Isn’t that cute? I thought so.
At the time.
Now it’s just embarrassing. My head is cut off and I’m pretending I know what I’m doing. I don’t. But I’ll show you anyway.
Warning: Any delusion you were under, thinking I *may* have a clue what I’m doing is going to be soundly shattered. Like Chuck-Norris-roundhouse-kick-to-the-face shattered. It’s all about the trial & error folks. Keeping it real.
Reattaching the crossbar by building up the back ended up being the smartest way to go because it gave me more thickness to attach the pegboard at the end. But we’re not quite there yet.

Now to extending those legs – which I didn’t video.
The leg extensions are cobbled together with 1×6 planks & plywood. I make myself feel better by thinking they look a little Thomas Wold but I’m not nearly that cool.


Then fill in the gap.

TA-DA!!!!

Now to reinforce that crossbar…


Look! I bought saw horses!! No more running a circular saw perilously close to my beautifully refinished floors. Yay.

What this picture is really supposed to show is how much better the leg extensions look after a generous date with some stain. {what you’re probably fixating on is my attempt to keep the saw dust off things like the computer, Priscilla, & our loveseat with a medley of means such as sheets & an air mattress. Klassy.}
Hey look! The stain worked!

After rubbing all the excess stain off, I let it dry for a good 24 hours. Just because I felt it needed it. Then the WHOLE thing got a clear coat of satin polycrylic.

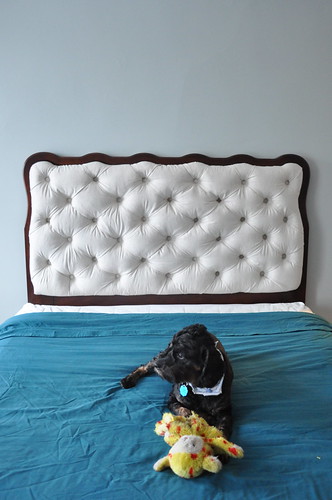
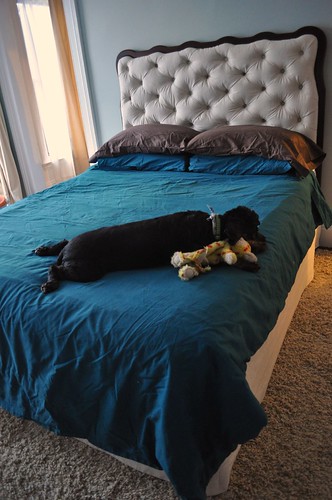
All done!


I love starting projects with a little sawdust. It’s one of my favorite smells on the planet {weirdo!}. I know I’m in good company, my fellow DIYers. What’s your favorite type of project? Are you a painter? Sewer? Crafter? Kindred builder?
Tomorrow -> Part 2: Making the Inset Upholstered Panel