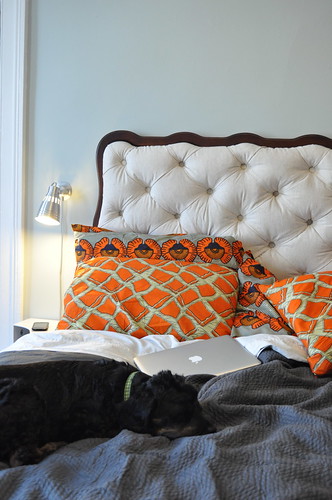
I made 4 pillowcases for our Master Bedroom redo {2 in each pattern, as you can see in the photo}.
This is actually the first time I remember making pillowcases and I tried it two different ways. Both versions worked equally well. I would use either, dependent on the fabric’s pattern. Completely your choice.
This post is going to illustrate version 1 and works best if you have a single yard of fabric for a single pillowcase. Version 2 {which we’ll get to tomorrow} works best if you have 2 yards of fabric and want to make 2 pillowcases.
So let’s get to it.
Pillowcases: Version 1
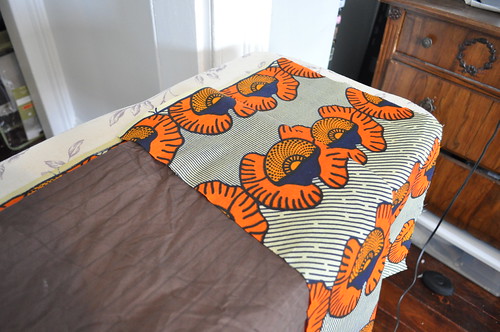
1. Start with 1 yard of fabric. Iron out all the wrinkles and lay it out flat.

Use a pillowcase as a template.

Leave about 1/2″ at the top for seam allowance (you could go down to 1/4″ but I had plenty to work with).

Fold up the bottom over your existing pillowcase.

Remove your template pillowcase and press the fold up.

To finish the hem, just fold the raw edge over about 1/2″ and then tuck the raw edge up into the fold. Press.

Now the bottom raw edge of your fabric has been pressed and folded up thusly.

2. Stitch down the edge

3. Fold it back up and find the middle of your fabric

Stitch the fold down but only up to the middle of the fabric. {I like a pocket to keep the pillow in the pillowcase.}


4. Fold the right sides together and stitch up the sides & top.


Turn right side out and you’re done!
By not stitching down that one half of the fold, it tucks over the end of the pillow.

Stay tuned for version 2, coming up tomorrow!!

Happy sewing!